Setting up a Cloudflare Warp on Fedora 39

I am a user of Fedora. I appreciate the easy to use installer, up to date kernels, how good dnf & copr are, and the positive open source ethos. But it does come with it's challenges. One of the main ones is the security focused mindset. This can be great and all, but sometimes it poses challenges. To show you guys what I mean lets run through how to install a CF (Cloud Flare) Warp wireguard profile to have a VPN built into GNOME shell.
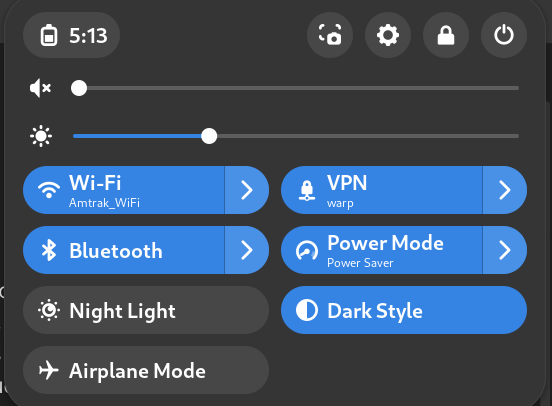
While we could use the 1st party Warp app, that isn't optimal on Linux. There isn't a first party GUI app, so how to use it with visual indication involves first downloading & setting up the CLI app then downloading & installing a 3rd party python app as a wrapper around the CLI utility. This isn't a terrible solution, it does work after a bit of finagling (that I won't get into here). It really would be nicer though if I was just to add the wireguard profile directly into fedora (via the network manager GUI in the settings app) so I could have it just show up in the tool bar like this:
Step 1: WGCF
wgcf is a 3rd party, cross platform, app that allows you to generate wireguard profiles for Cloudflare Warp. Lets get it installed with the following commands:
cd ~
curl https://github.com/ViRb3/wgcf/releases/download/v2.2.20/wgcf_2.2.20_linux_amd64 # go to the releases page for more up to date versions
chmod +x wgcf_2.2.20_linux_amd64
sudo mv wgcf_2.2.20_linux_amd64 /usr/local/bin
wgcf register
wgcf generate
Note: This will do everything in your home directory, if you know how to you can change the paths everything is at.
This will generate a file called wgcf-profile.toml (and wgcf-account.toml but we don't care about that). This is our wireguard profile!
Step 2: Installing the profile
Now that we have a profile, lets install it. Open GNOME Settings then do: Network -> Vpn -> Plus symbol You will be greeted with this:
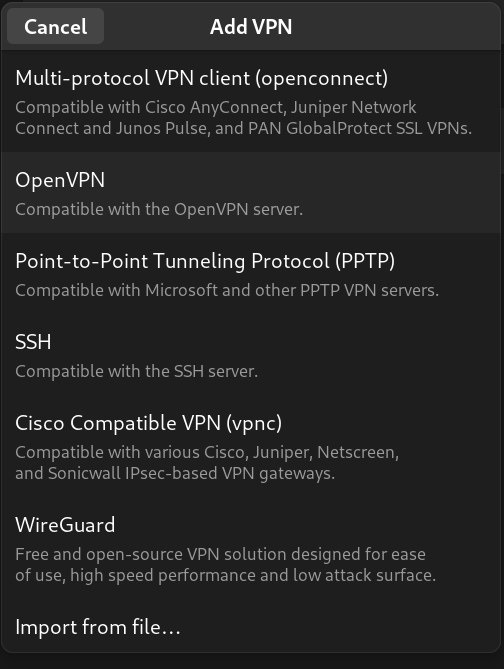
You then want to click Import from file... and select the profile generated earlier.
Then, change the profile & interface name to warp and click Add.
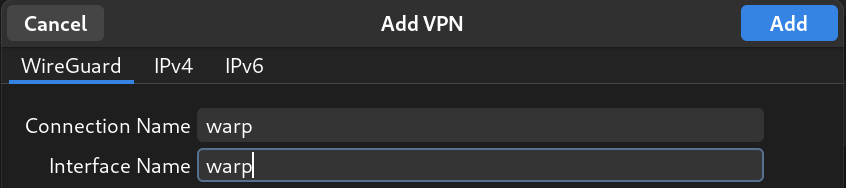
Great! You now have a VPN profile installed.
Step 3: Dealing with firewalld
If you test it now though, you'll notice that the internet... doesn't work. Not the best look but we can fix this.
After many hours of tearing my hair out, I found this blog post. Which explains how to make firewalld play nice with wireguard. So I'll summarize here. Run these commands:
sudo echo "<?xml version="1.0" encoding="utf-8"?>
<service>
  <short>warp</short>
  <description>WireGuard (wg) warp installation</description>
  <port protocol="udp" port="2408"/>
</service>" > /etc/firewalld/services/wireguard.xml
firewall-cmd --add-service=warp --zone=public --permanent
firewall-cmd --zone=public --add-masquerade --permanent
firewall-cmd --reload
Now you have a fully functional VPN. Test it out!
Step 4: Reconsidering
While I am happy I figured this out, it is kind of frustrating that Fedora doesn't automatically make the profile for you when you add a VPN. It really should as this was not intuitive. But oh well, water under the bridge.
Thanks for reading (: