Kobo Libra 2: Pleasantly Repairable
The Entry Process
There aren't really any repair guides on the internet already for this device, so I had to just play it by ear. A simple metal spudger to the cracks on the back and some plastic clips later, it opened up with little issue. A complete lack of glue is quite refreshing. Especially considering it is IPX8 Certified.
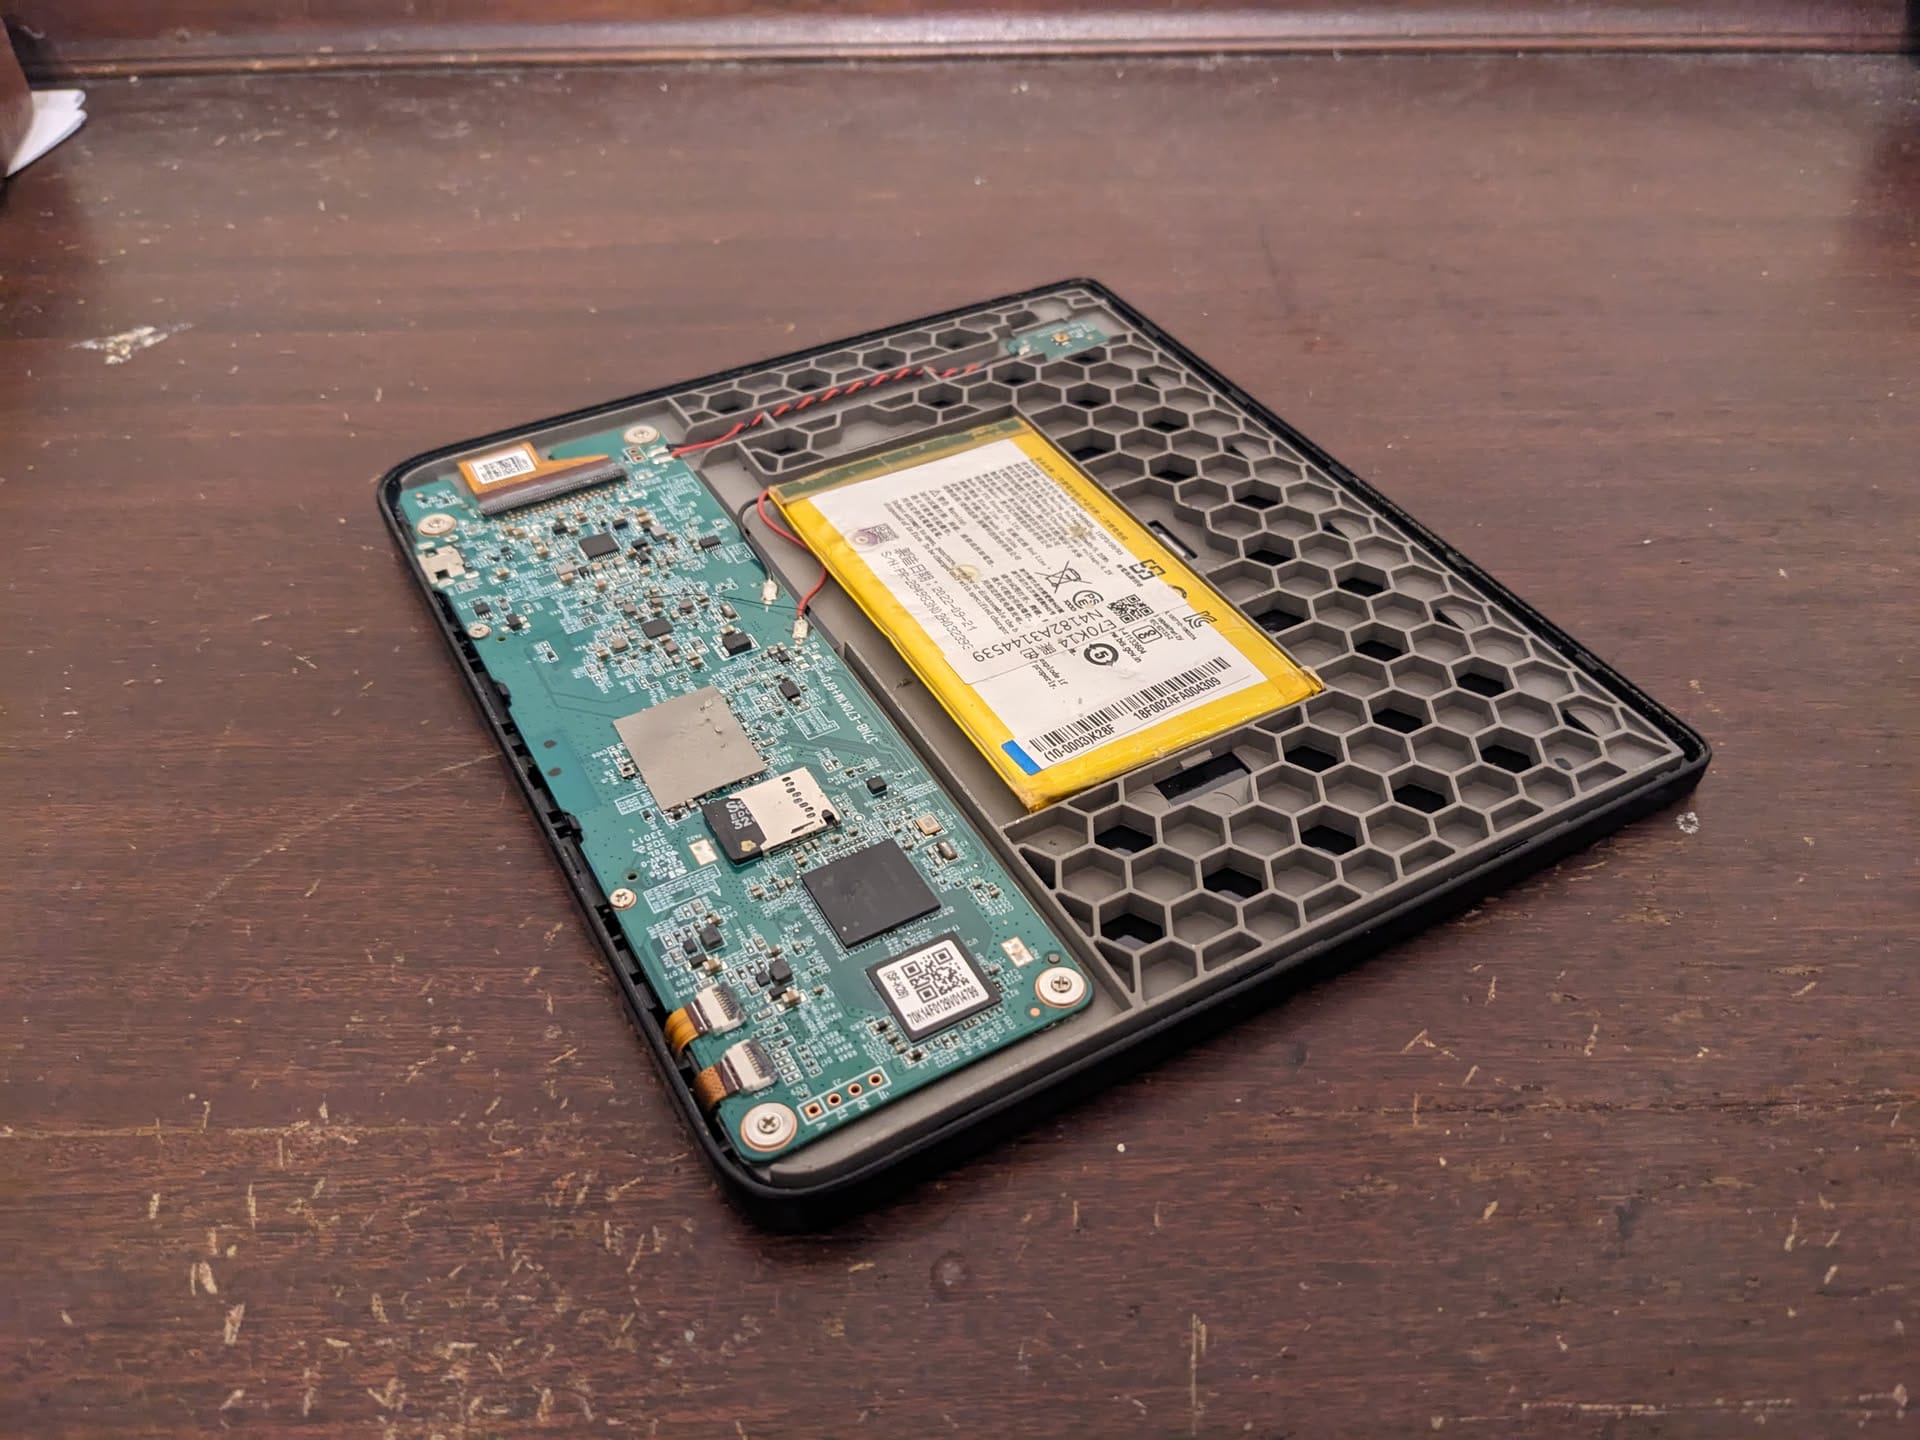
The Insides
Motherboard
Interestingly, it has a MicroSD card slot. So, theoretically, if it was cloned to a new drive, the storage could be upgraded without any soldering. Though the utility of that is questionable considering you can fit thousands of books onto 32 GB of storage. And I would have to test this to see if it actually works.
The board is simply held in by fillips screws, so no need to fiddle around with glue or specialized screw types.
Battery
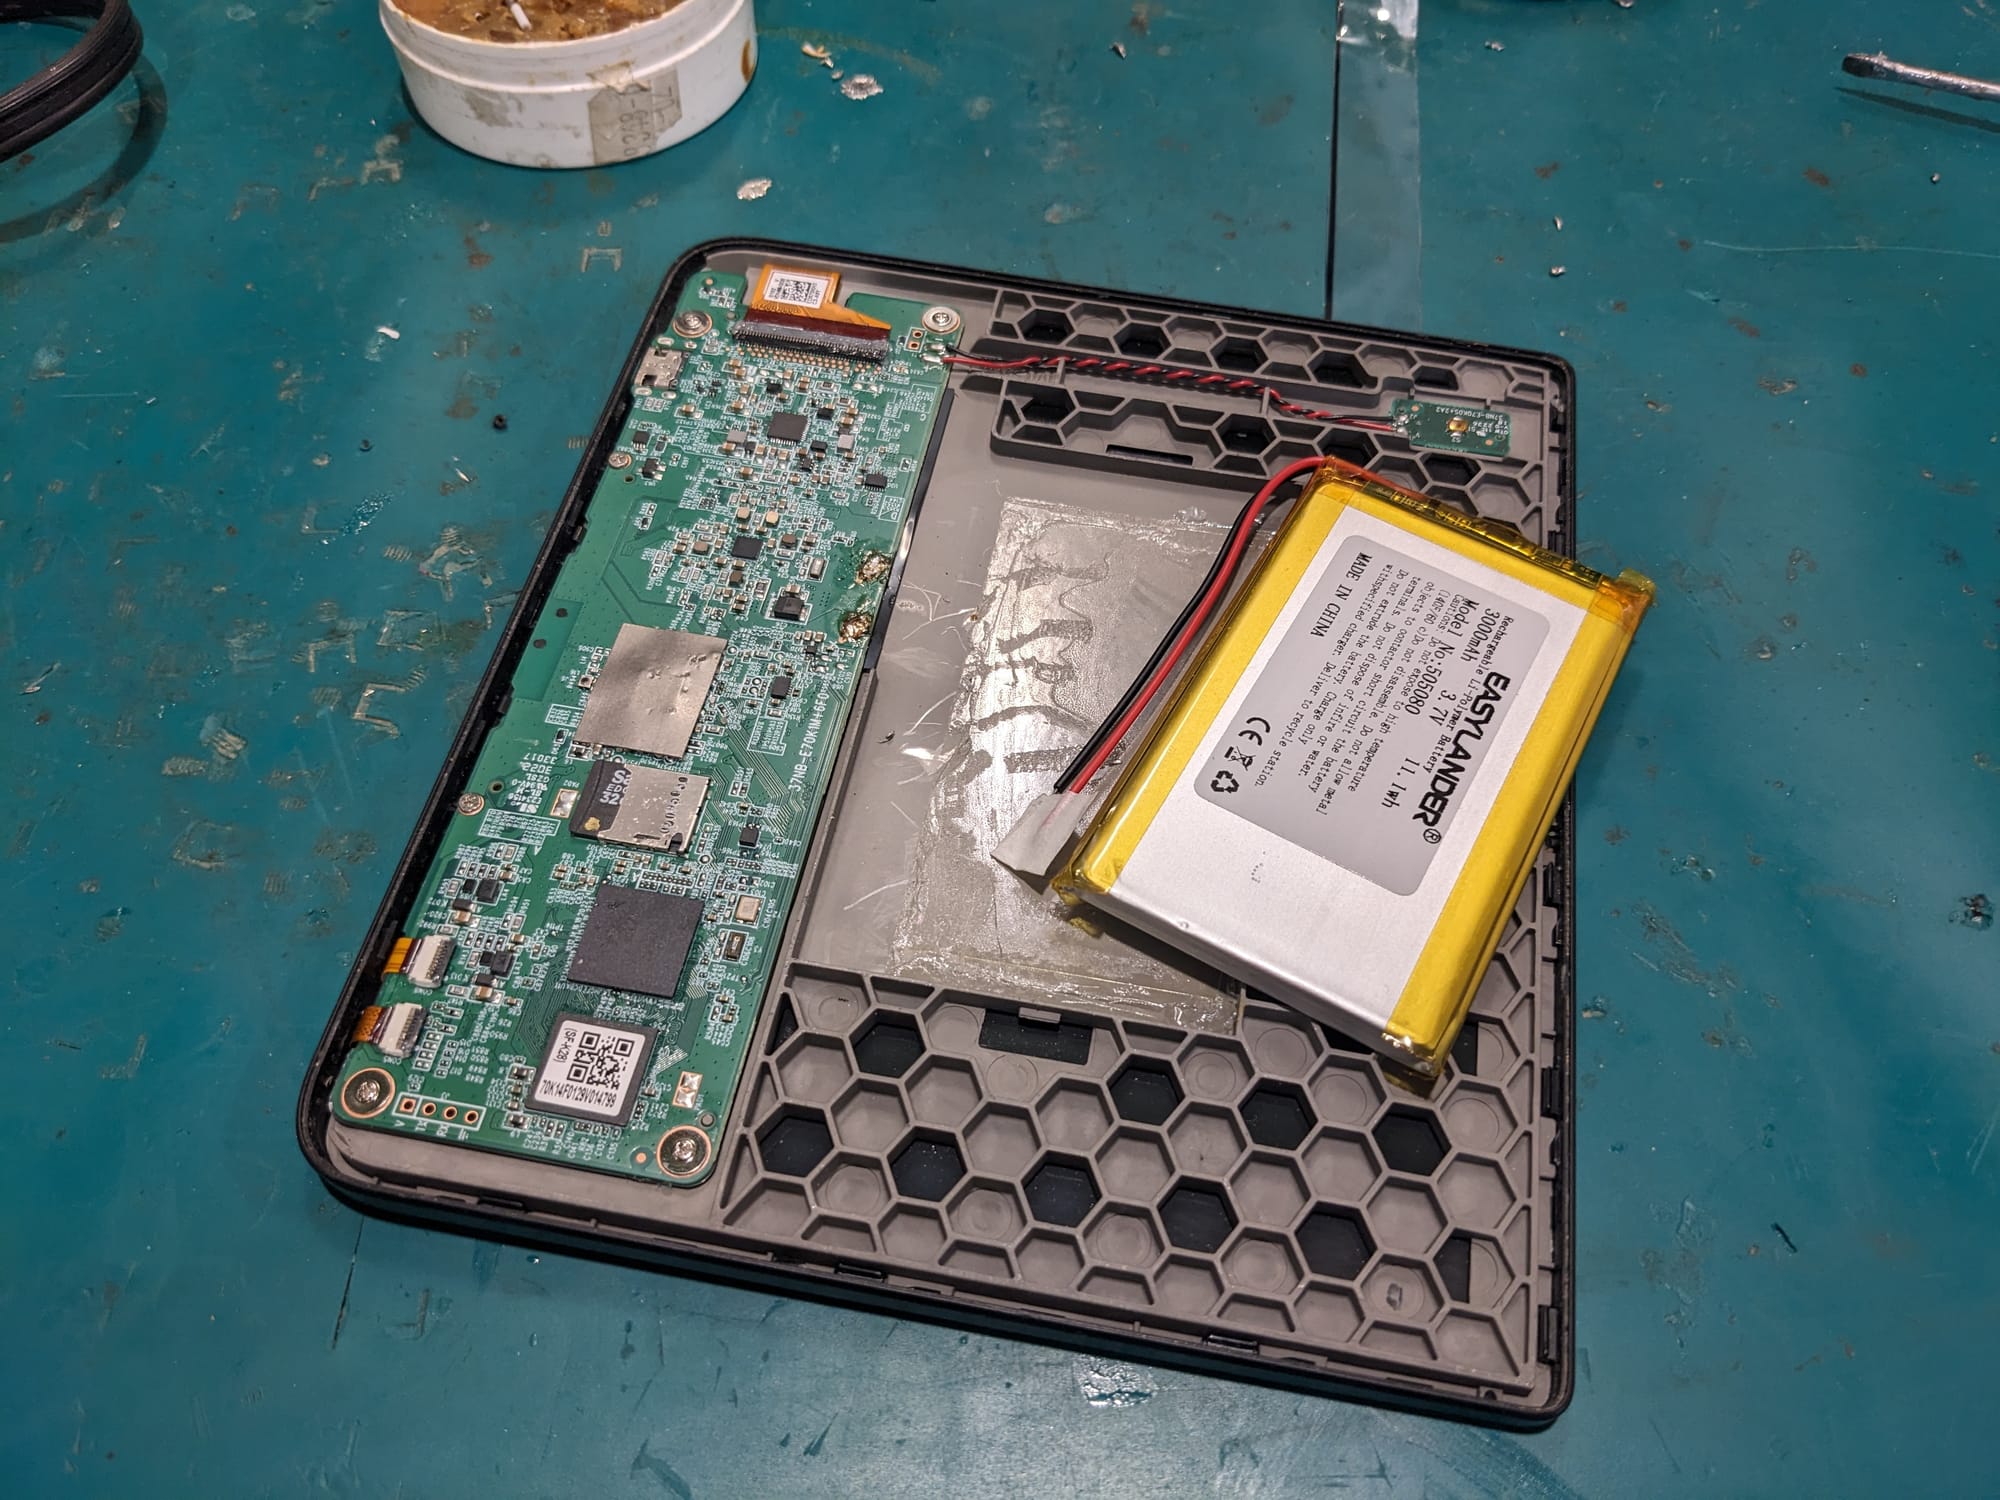
The stock battery is something like a 305080 and can easily be sourced for less that $10. Unfortunately, a 2 pin connector isn't installed by default so soldering is required. But the inclusion of a standard battery which is used in many application at least makes sourcing of parts very easy. I installed a 505080 in mine and it's a little thick, but it closes okay and will double the battery life. I wouldn't recommend doing that as squeezing Li-Po batteries isn't ideal.
Build
A nice honeycomb infill is used to increase the rigidity of the device while keeping weight low. Honestly, I think more space could have been allocated to the battery but at least it is built well. Everything is plastic, but it feels pretty well made.
Swapping the battery
After a quick (flux assisted) desolder, and a bit of heat, the old battery comes right out. Well "comes right out" may be a bit generous. It is glued in there pretty tight and I had to give it a bit of a wrench to get out. But the battery was dead and drained anyway so not a big deal.

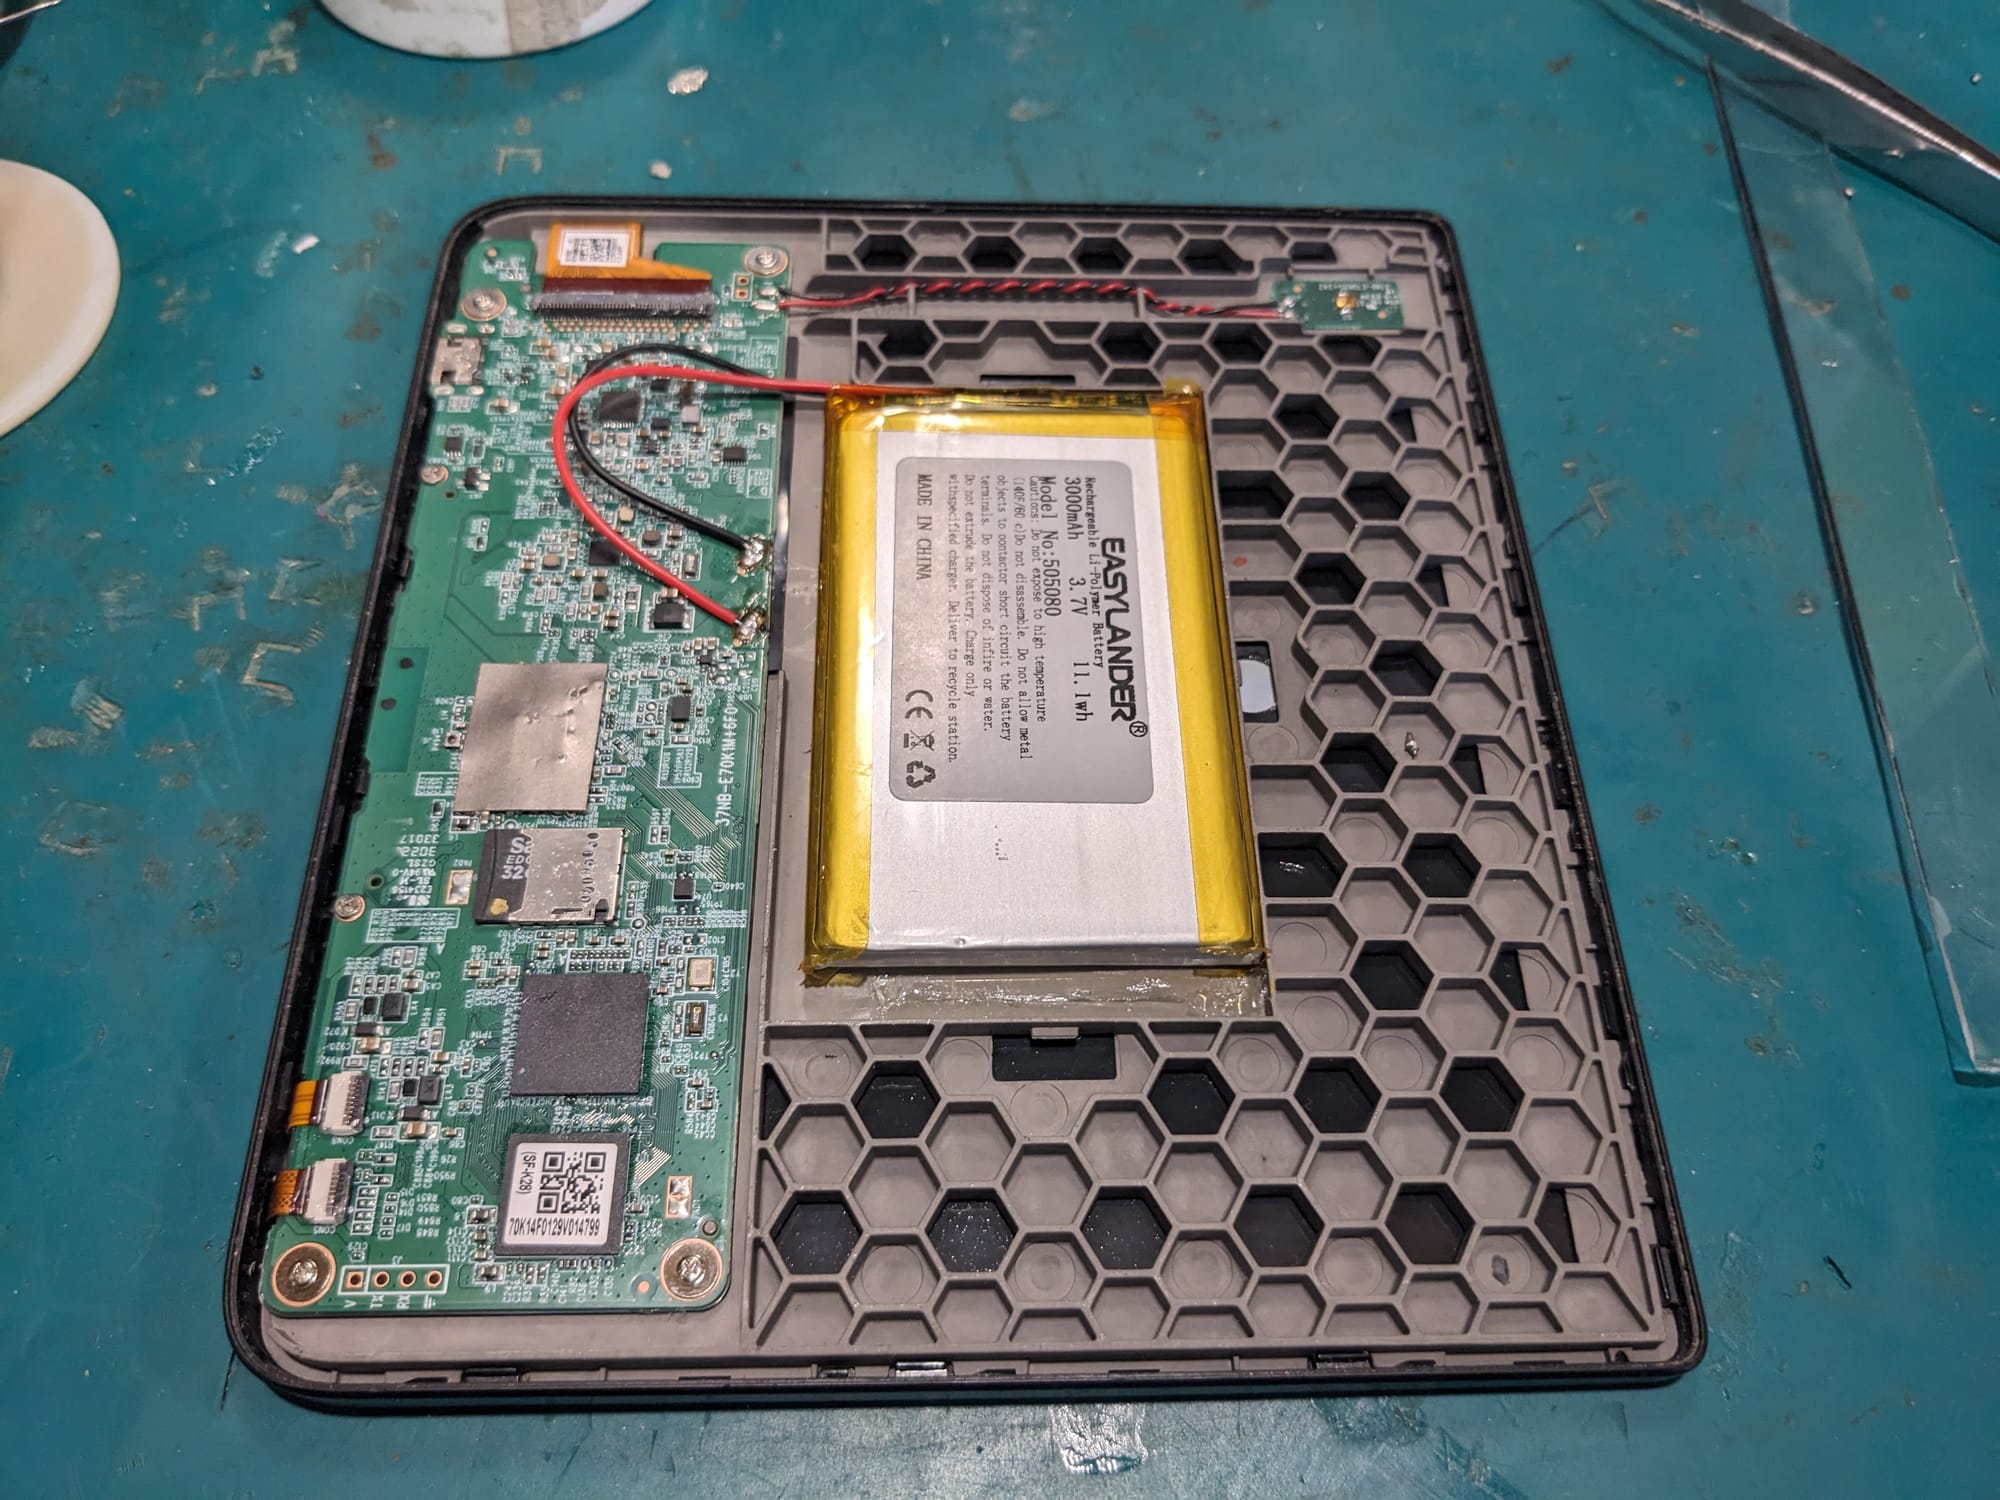
Then place the new battery in, solder it back on, and you're off to the races!
Conclusion
The design could do with a little work to make it more repairable. Namely pull tabs for the glue and a standard 2 pin connector for the battery so no soldering is required. But honestly this thing opened up very easily, used an industry standard battery, and was layed out very nicely. I'm quite happy with it and it gives me confidence I'll be able to use this for many years to come.