OW+ Battery Upgrade Mod
This isn't an authoritative guide on how to mod one wheels. There are lots of online resources on how to work on Onewheel's: how to build a vesc from scratch, how to build a battery pack, etc. This is just to document the design choices of this project in case anyone wanted to follow along.
Why?
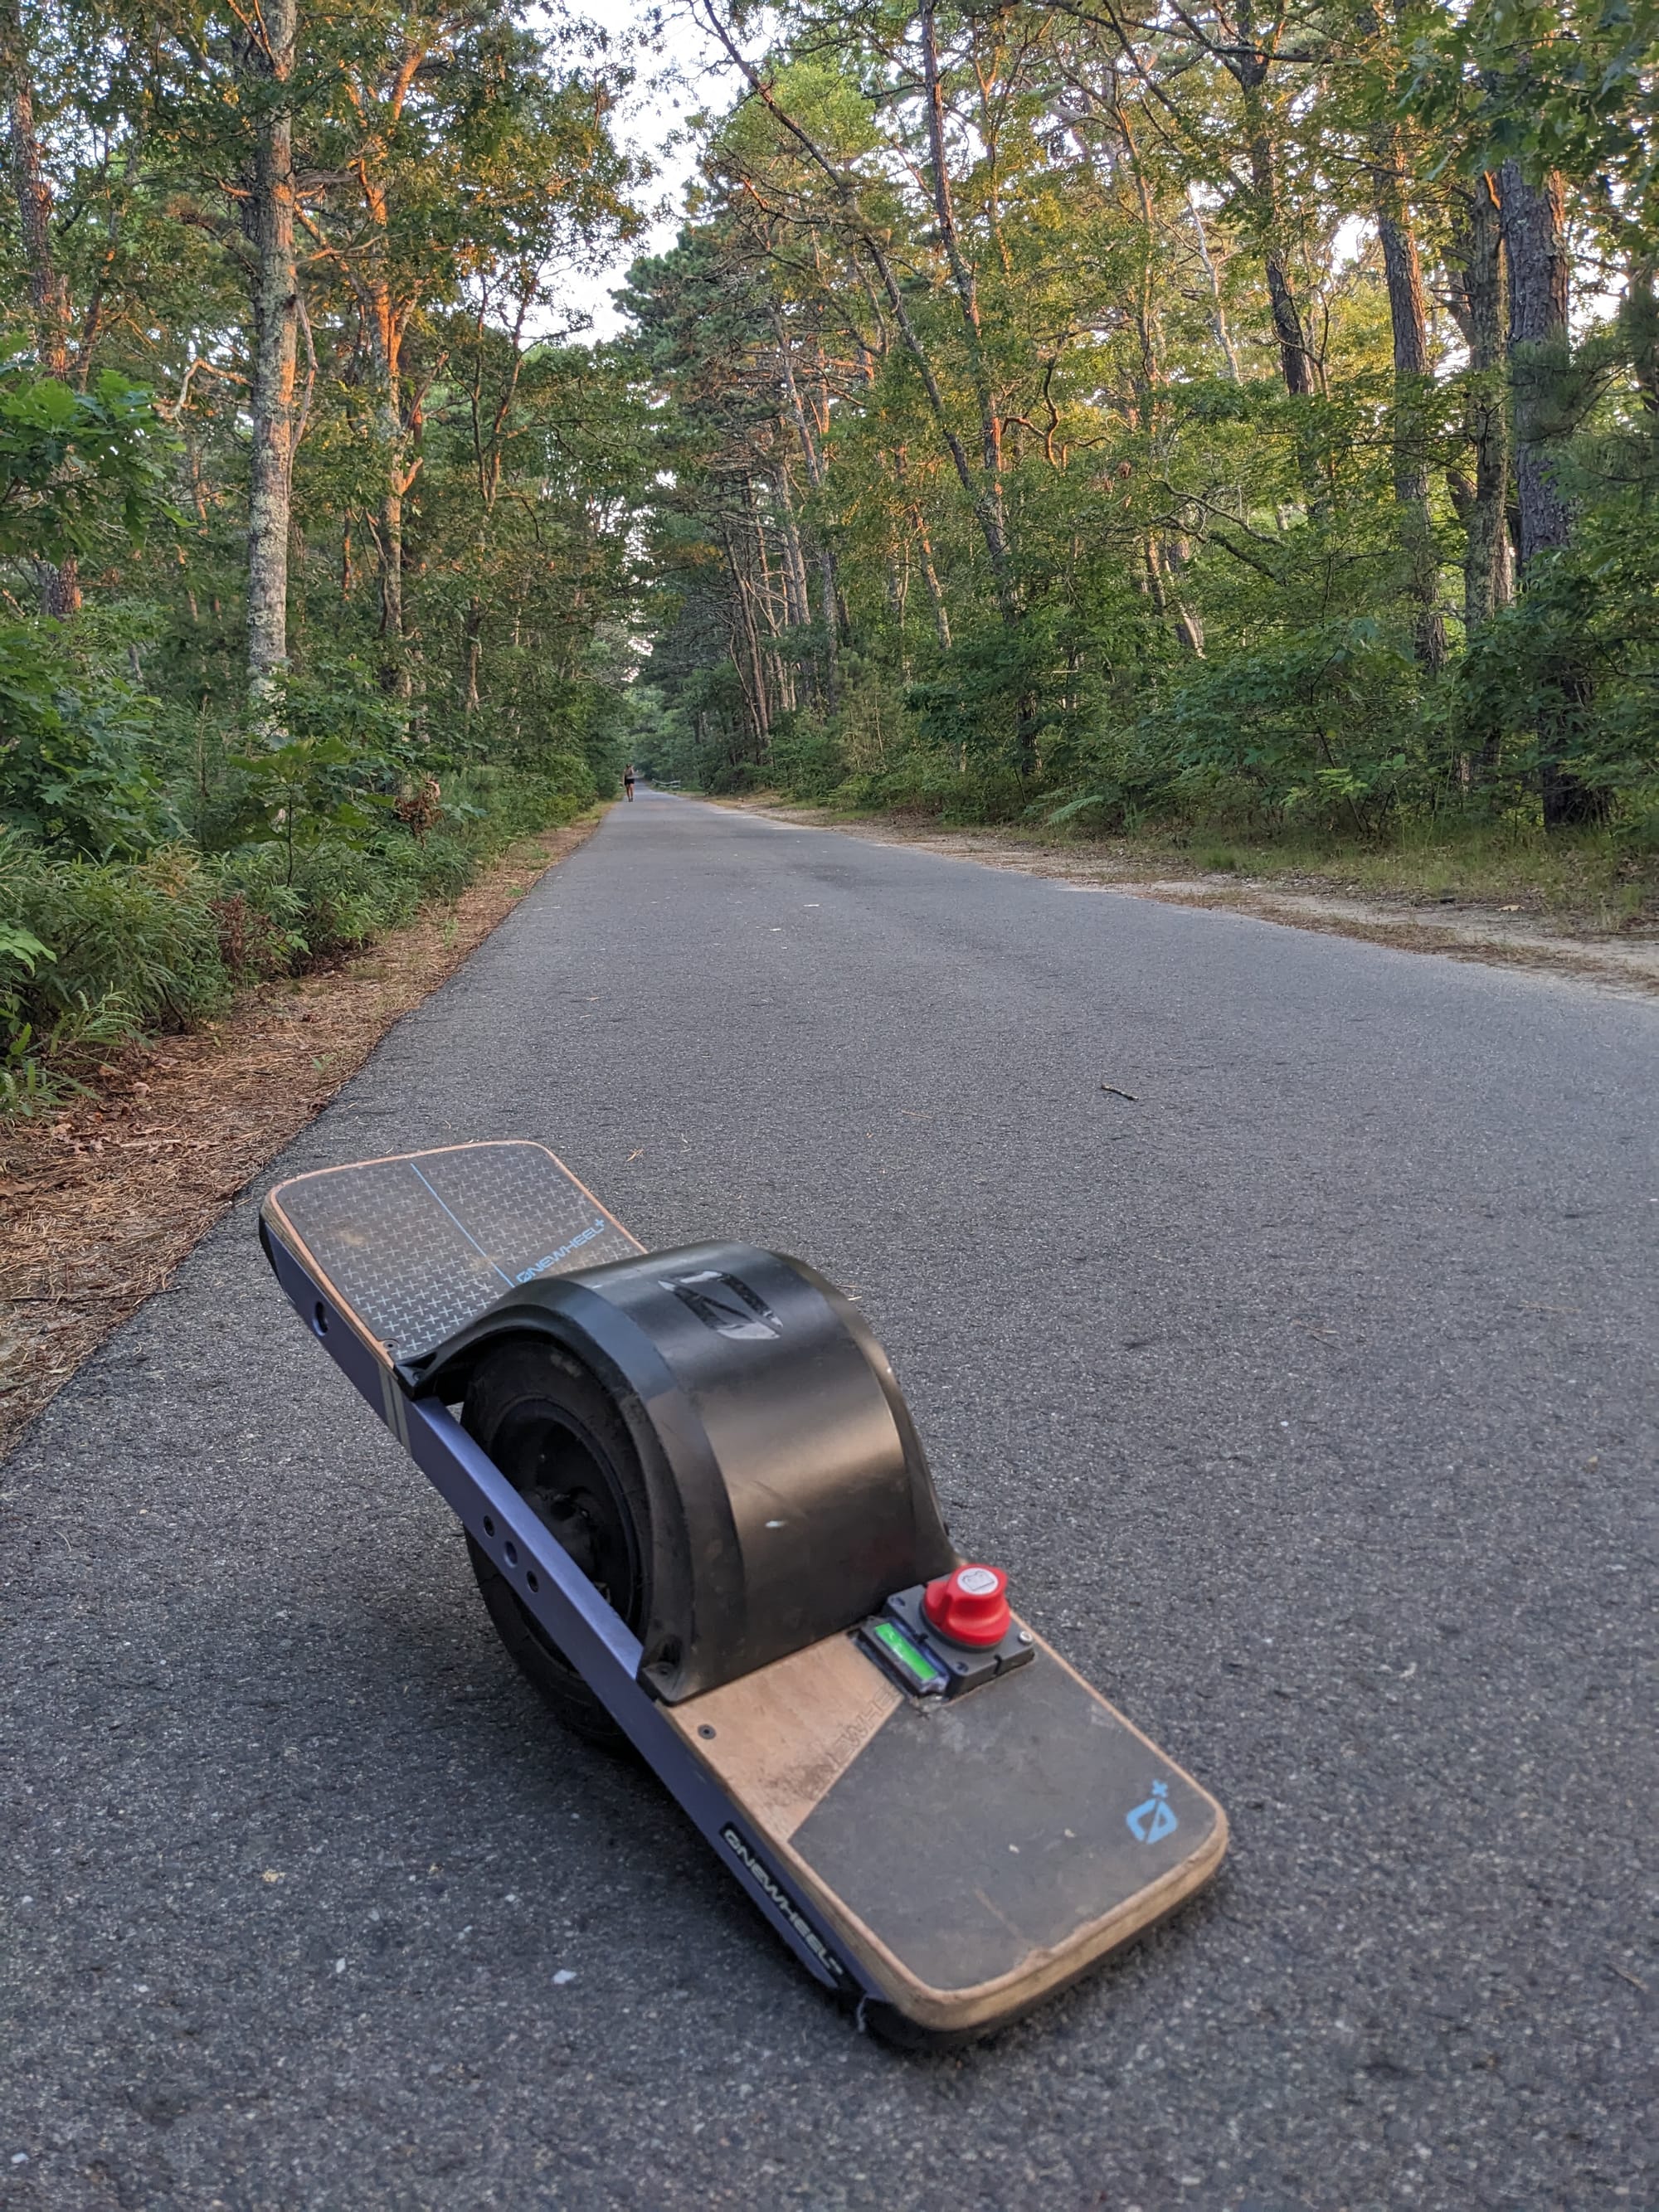
A good question to start with is, "Why in the hell would you build that?" Fair question my dear reader! For me the most important things for a board go in this order: price, range, ride comfort, repair. I know a lot of you care about sick off-roading and monstrous hill climbing ability. I don't care about that. (Also it's fun to do silly projects).
Note: For those of you that don't know why this is a silly idea, I'll keep it short. In order to use the OW+ stock controller (which I do for cost reasons), you have to stay under 60V (stock LiFePO4 goes up to ~58V). So 14s li-ion is the maximum series count you can do without overstressing the controller. An electric motor is inherently limited in speed by the source voltage, so going fast isn't really possible on a 14s safely (the motor saturates its duty cycle too fast). Again though, I don't really care. I don't want to go 30 mph on a self balancing device, that sounds like a wonderful way to break my wrists. Torque should still be the same as something like a 2p XR with an 21700 pack due to torque being tied to magnetic flux (which is generated directly by current), though with the inherent limitation of the OW+ controller. It won't be a Floatwheel in terms of torque of course.
How?
Alright, lets break down the major things that need to happen to upgrade this battery:
- New Battery
- New BMS
- New Battery Box
- New Harness
Battery Decision
The original 15s1p LiFePO4 pack is what we're trying to upgrade. The original pack had a capacity of 130 Wh, we will be upgrading it to ~466 wH. That is almost 4x the capacity.
I ended up going with p45b cells. I initially went with 50s cells, but they got killed by the Dally BMS. So then why did I switch? Well it's because p45b's were the cheapest high current 21700 at the time and they are generally regarded as very good. p50b's are better, but more expensive so I didn't really want to pay for the extra 11% range.
Pack Photos:
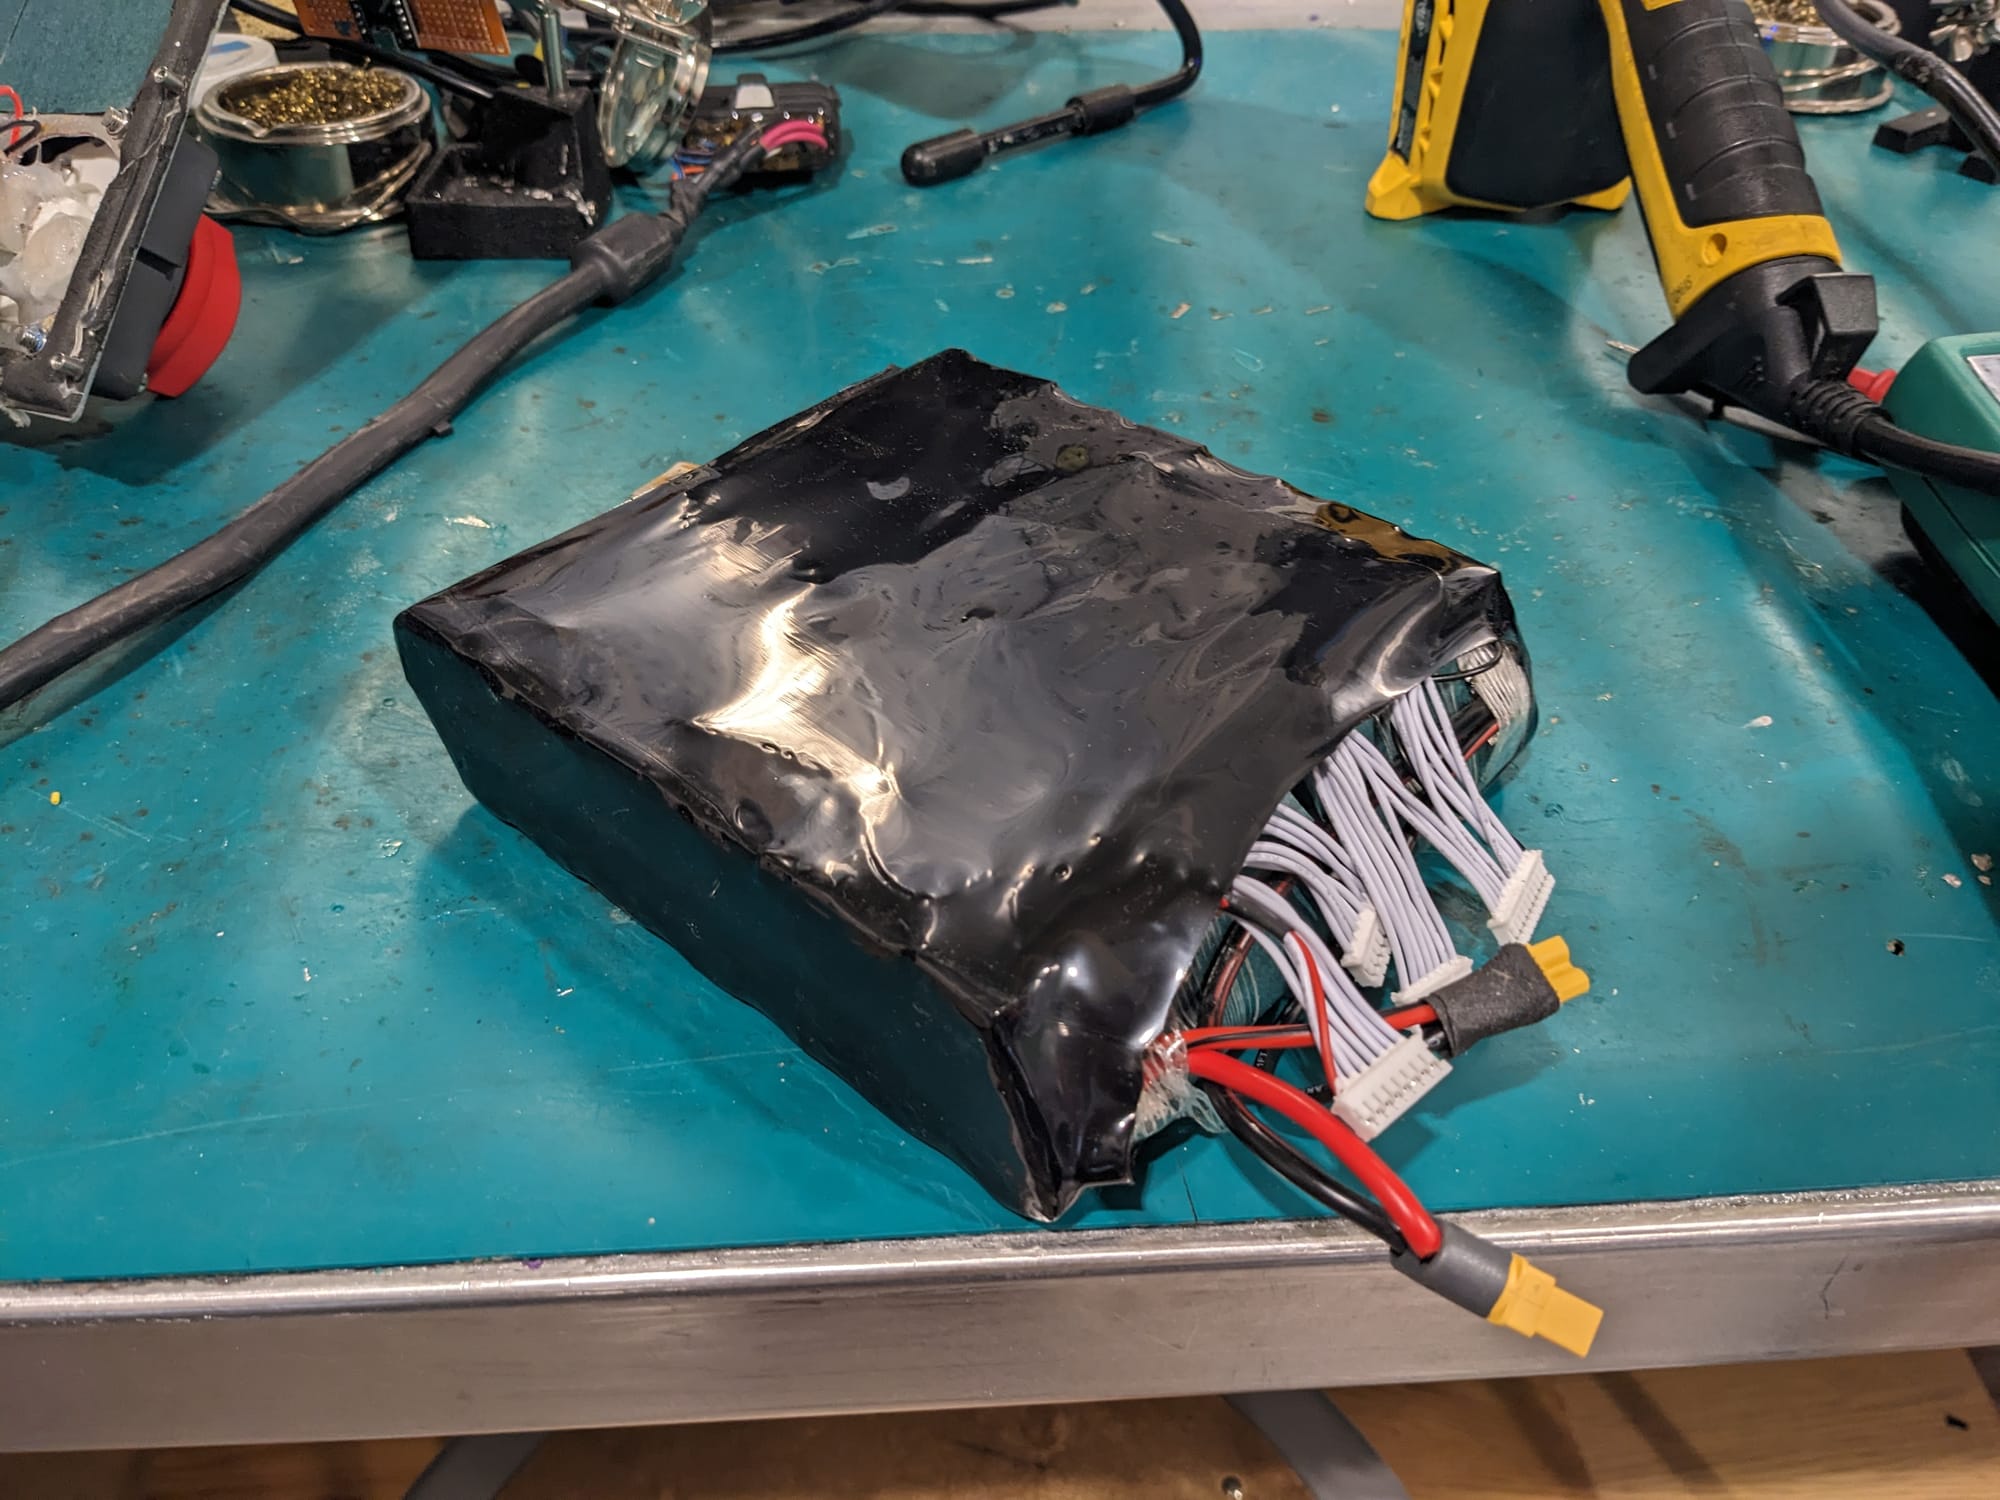

Pack pre & post shrink
BMS & Wiring
Note: Unlike every OW since the XR, this board does not require a connected BMS to function. It will raw dawg it on straight cells if you ask it to. It sucks they use a proprietary protocol to communicate with the BMS so you can't replace it properly, but at least they allow you to use whatever BMS you want (you just won't get power switching & battery SOC in the app).
The stock BMS will only work with LiFePO4 packs which is no good. LiFEPO4 is a wonderful pack chemistry for charge cycle life. LiFePO4 can do 5,000 charge cycles before degrading (as opposed to 500 on li-ion)!. But it has horrible energy density, basically half that of li-ion. This makes it not a particularly good choice for a small, energy dense, device.
The BMS I went with was the SSBMS. I originally tried out a cheap 14s dally dumb BMS but it completely killed my pack by draining it to nothing while I left it there for a couple weeks. So I would NOT trust the dally BMS's for this kind of setup. I know a lot of people use them, but really, use a smart BMS. Pack monitoring is seriously useful.
Wiring Diagram:
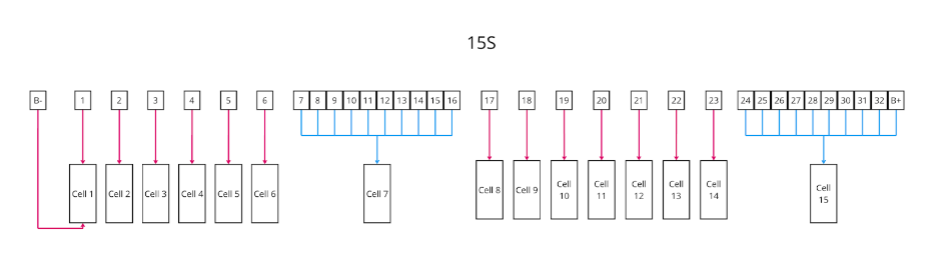
Problems with the SSBMS: So the SSMBS does not work properly. I contacted the creator of it, Carlos, (who is a wonderful guy btw), and my wiring looks correct, the readouts are correct with a multimeter, but I still have a weird problem. When the pack first turns on everything is fine, but if you use the pack at all you'll notice pretty quickly the second group (cell group 8-14) does not update. The first 7 show up live all good, but the second 7 only populate on the first connect, then stay stuck. The cells can be rescan by turning to 32s then back to 14s in the settings, but that isn't ideal. I'm still awaiting a reply from Carlos on how to fix this. He also did ship me a second one and it didn't work either, same issue. I would hesitate to reccomend this BMS at this time. It has super good community approval, I just think it may not work for 14s right now. I'll update this if anything changes.
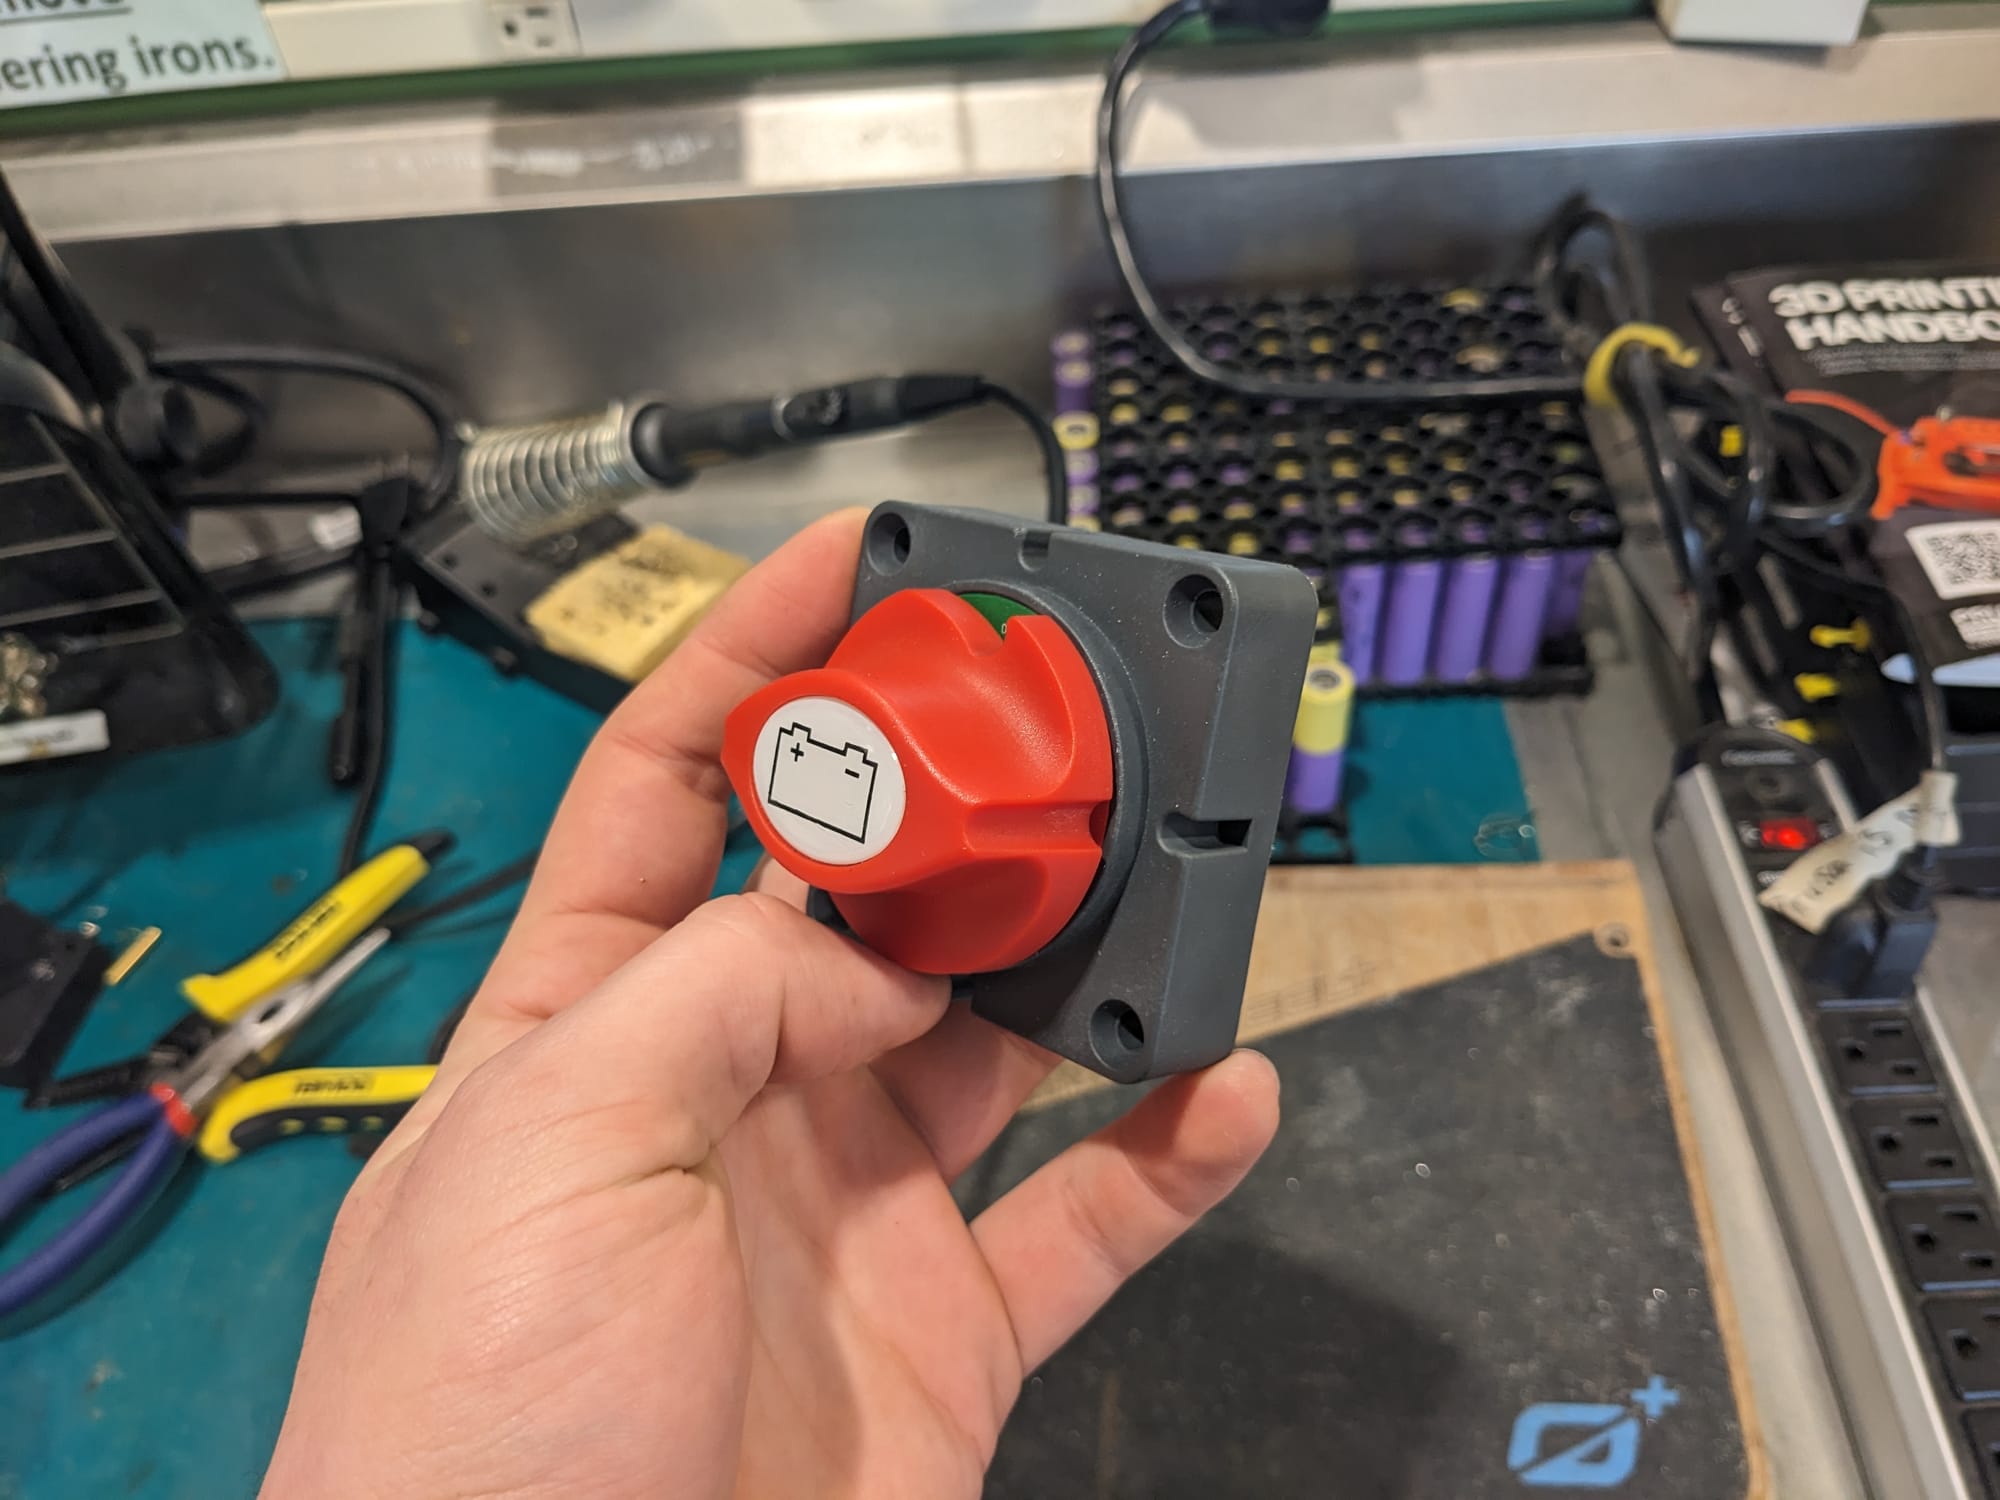
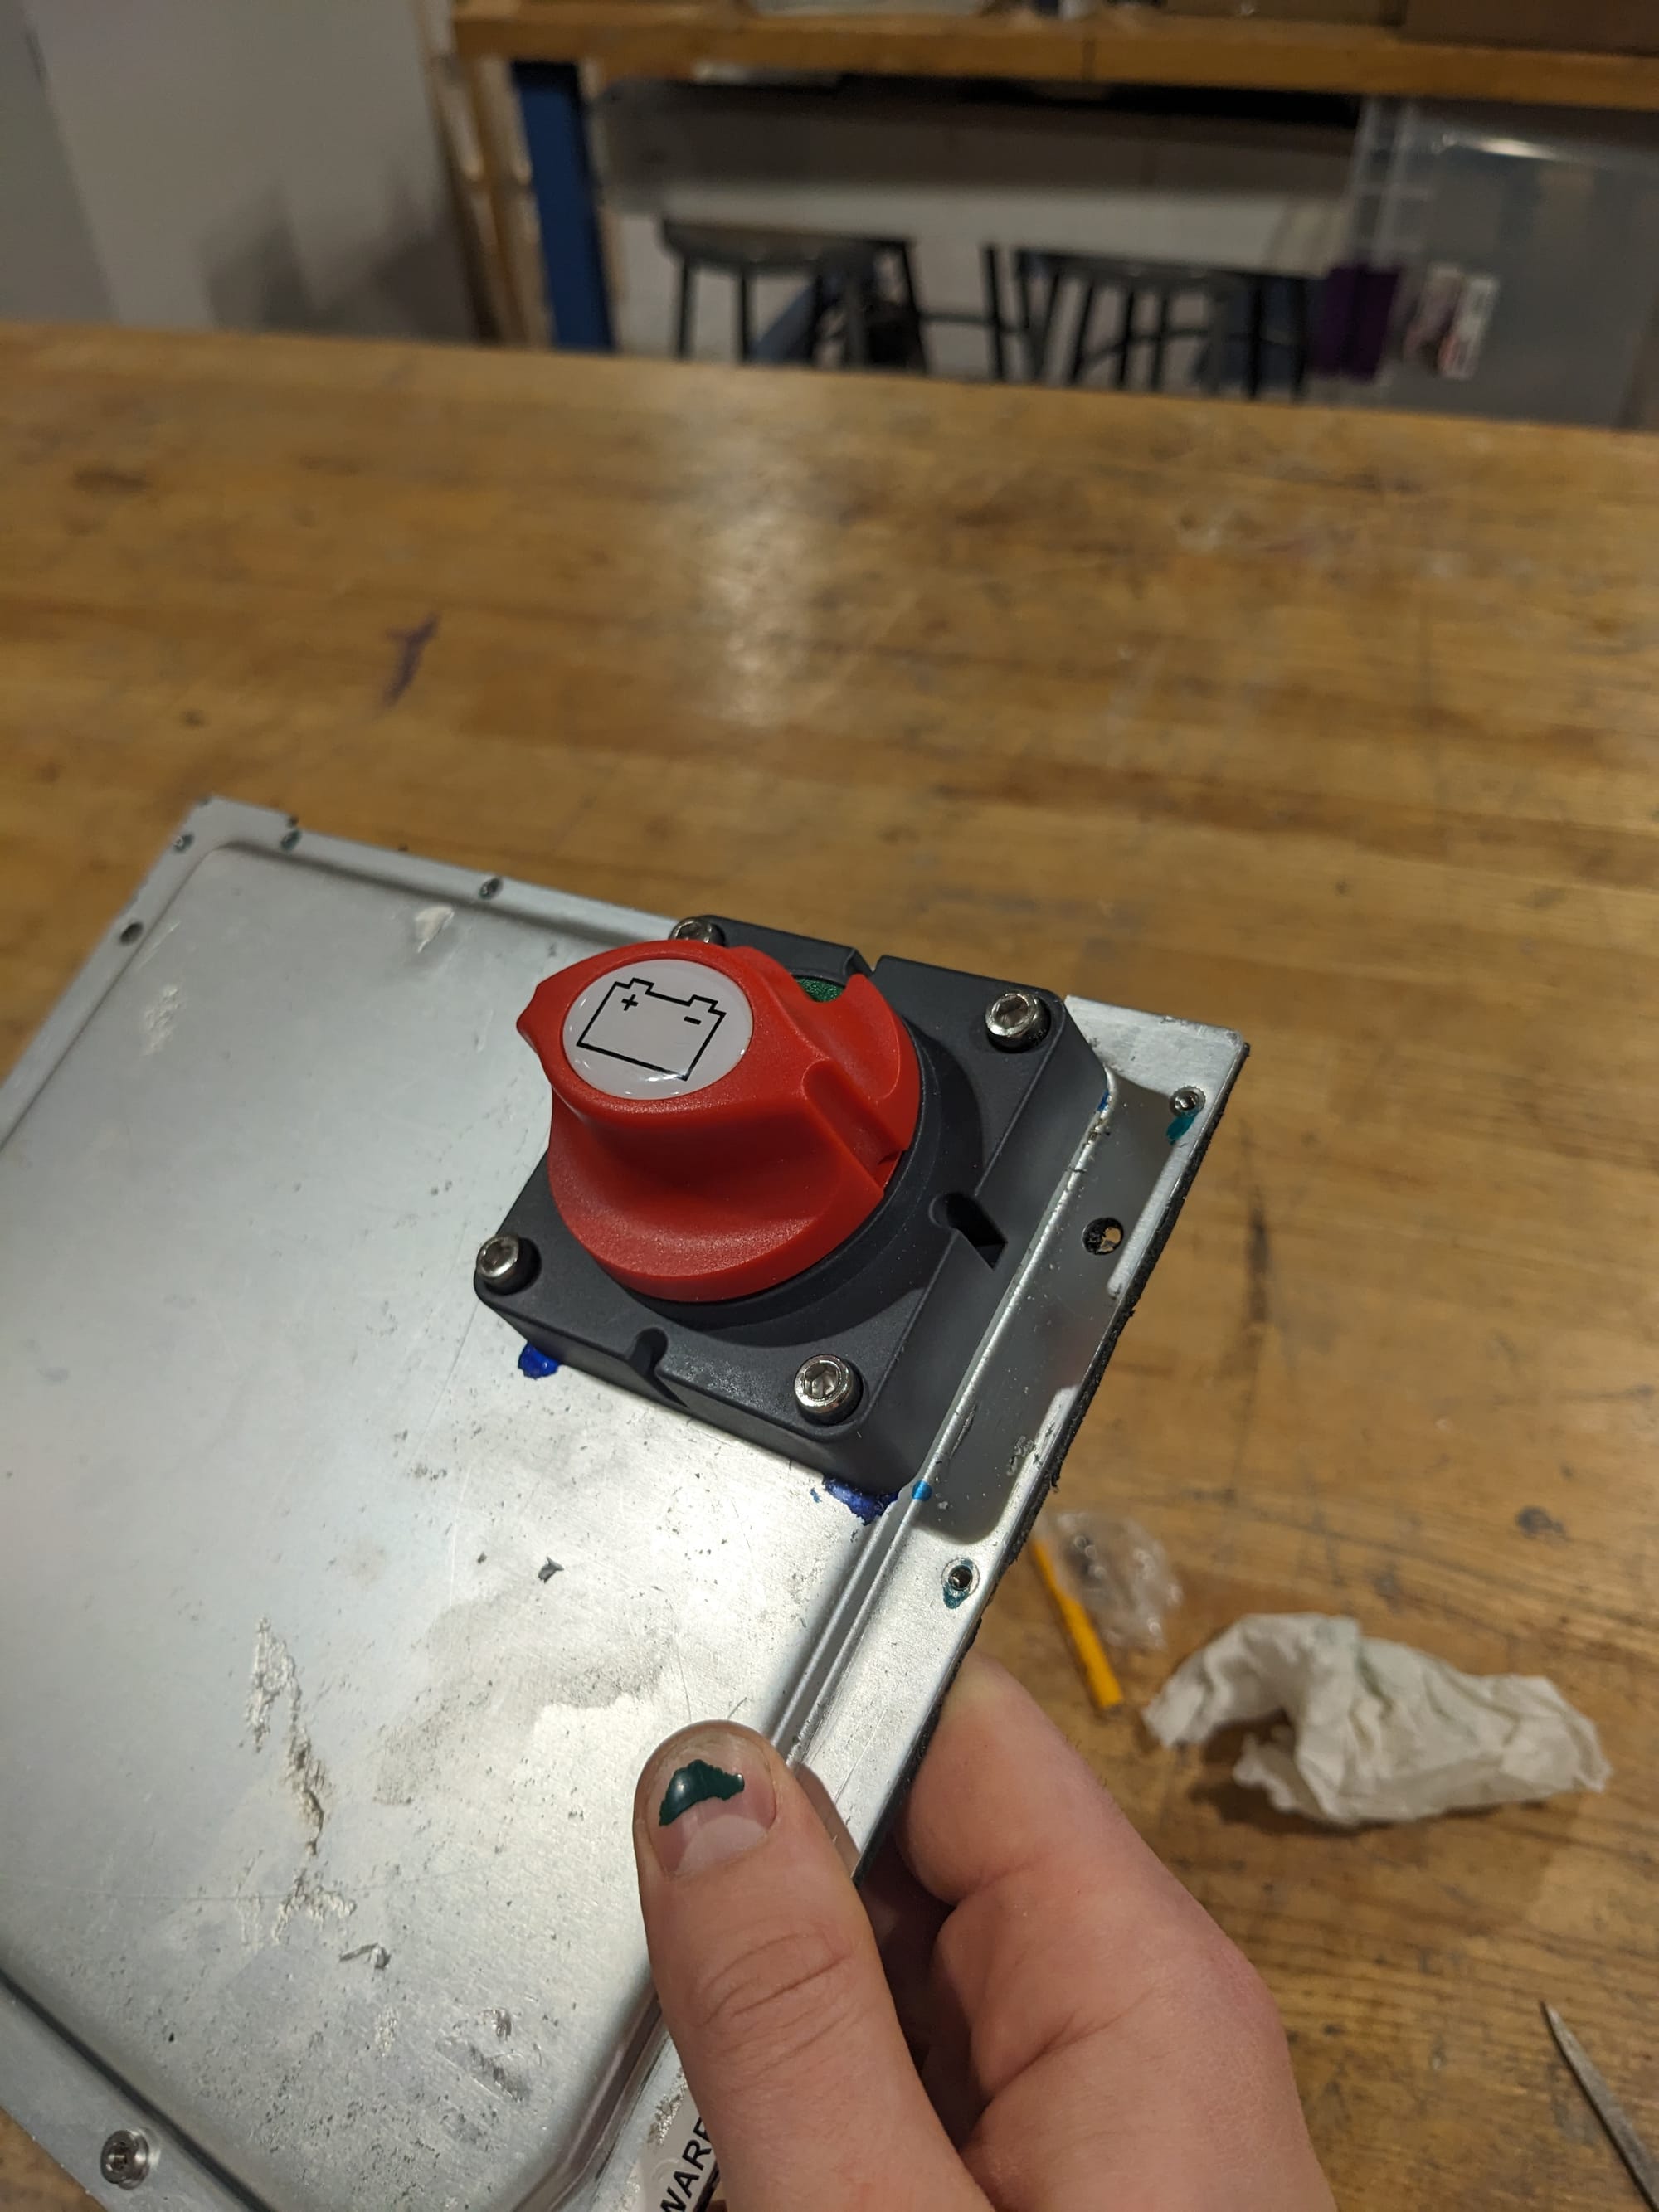
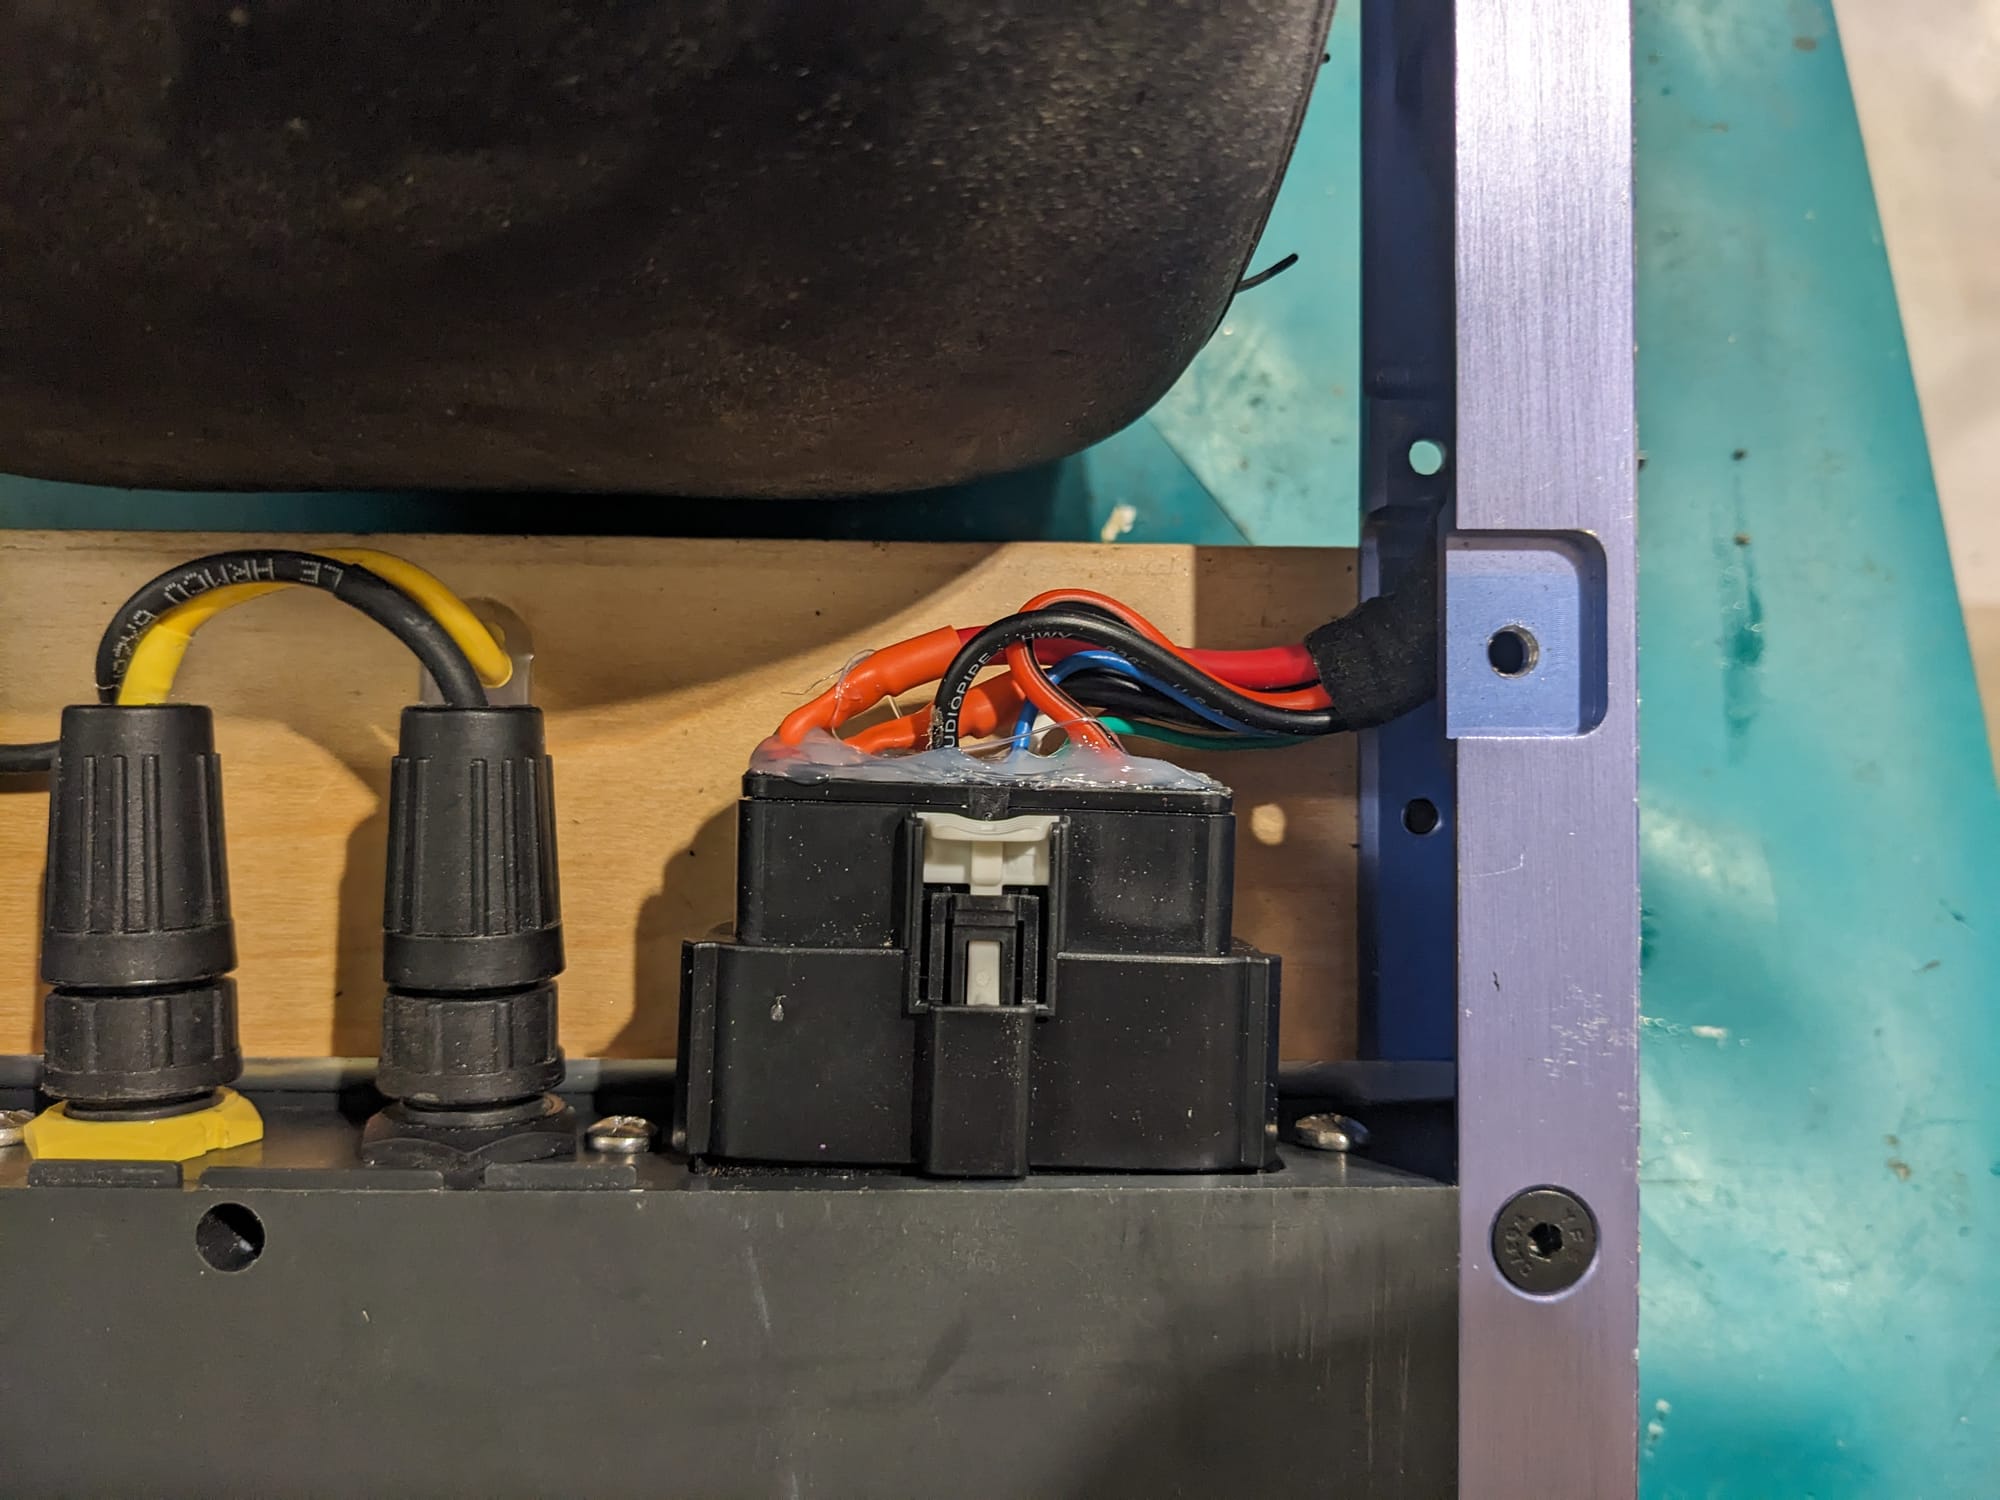
The Switch
So unfortunately one thing lost when getting rid of the BMS was the power switch. When you press the power button on the onewheel, nothing is physically getting switched on and off, the controller just sends a signal to the BMS to wake up. If it doesn't have a BMS that it can talk to, the power switch do es nothing and the OW stays on forever. This isn't great.
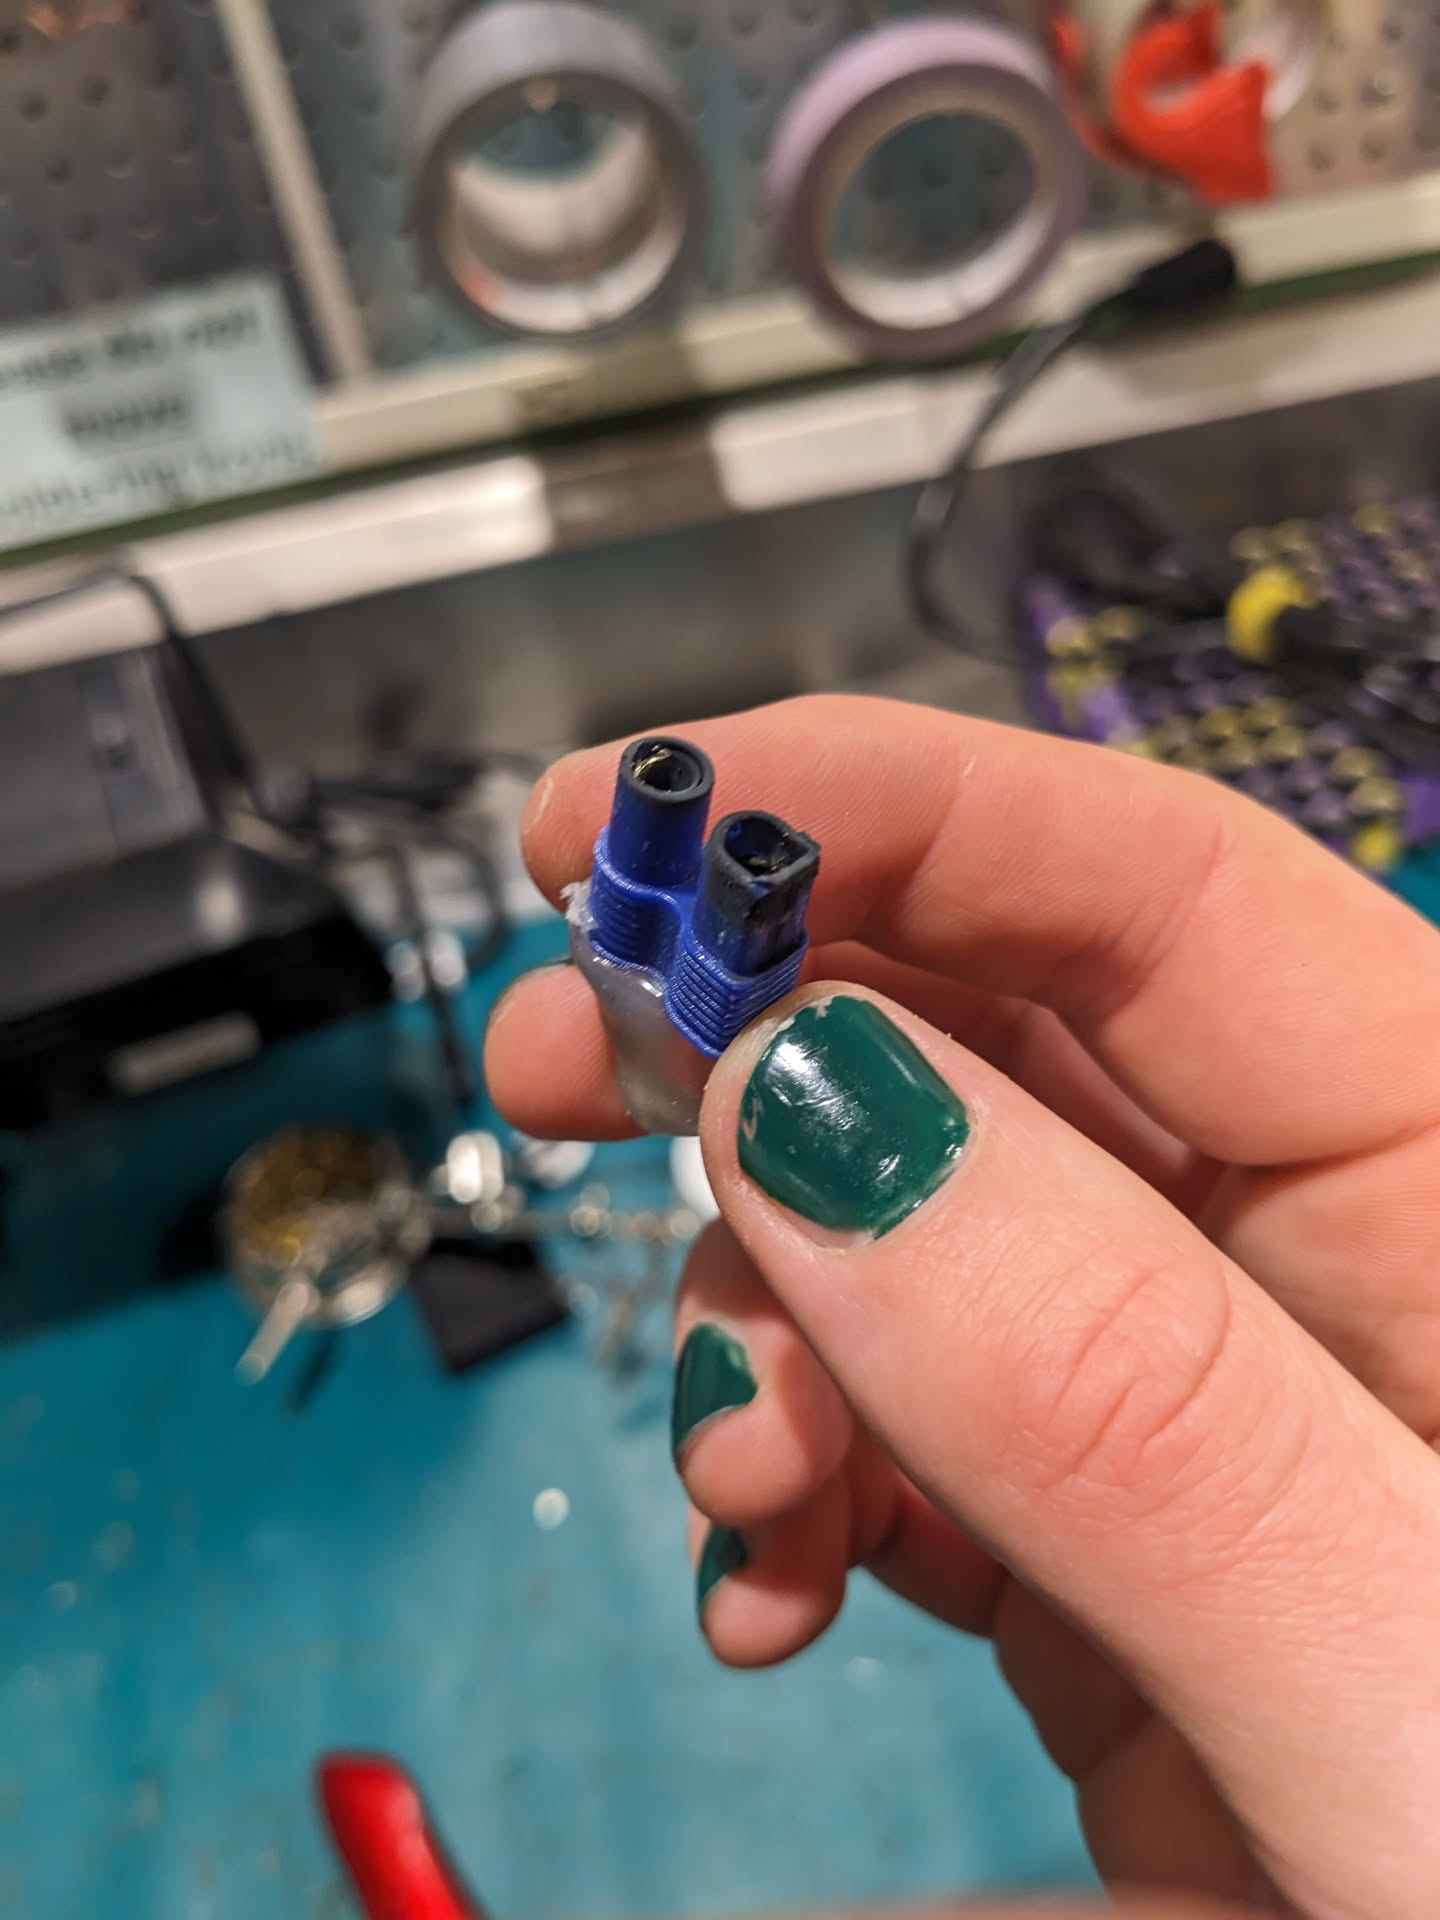
I originally tried to use the EC3 connectors it came with as a physical key, but they fried almost immediately by the shorting.
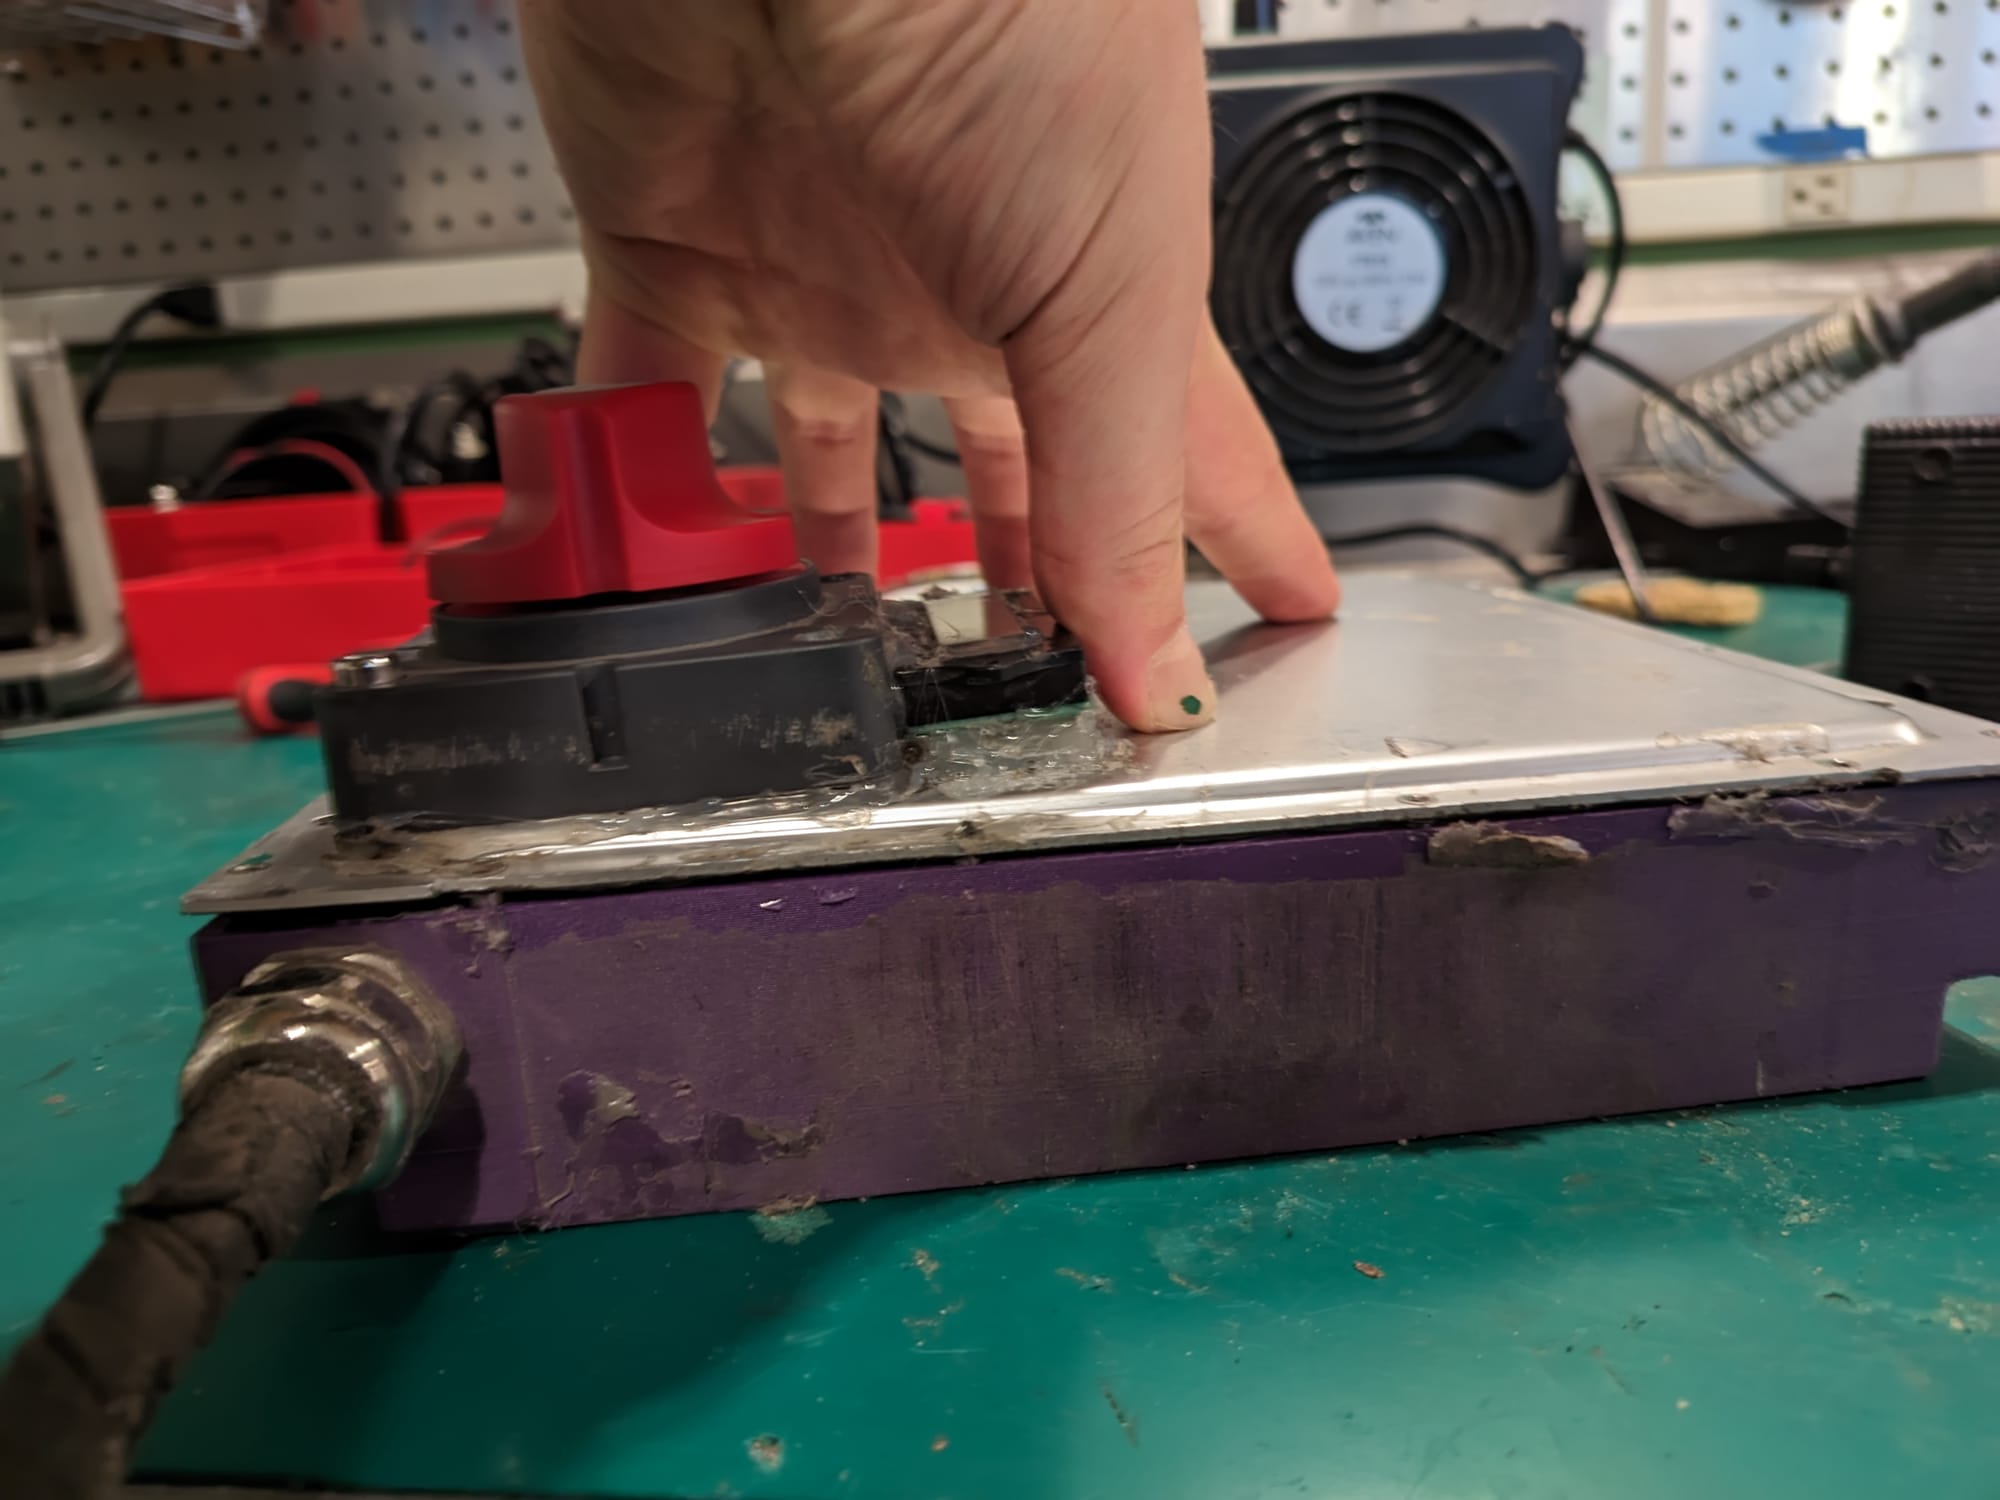
I could have used a spark, resistant XT90, but I ended up deciding on a 60V rated boat power switch. There are better solutions to this. Really, I should have used a separate push button switch and put it back in the battery box, but honestly space was so tight that I think this turned out good:
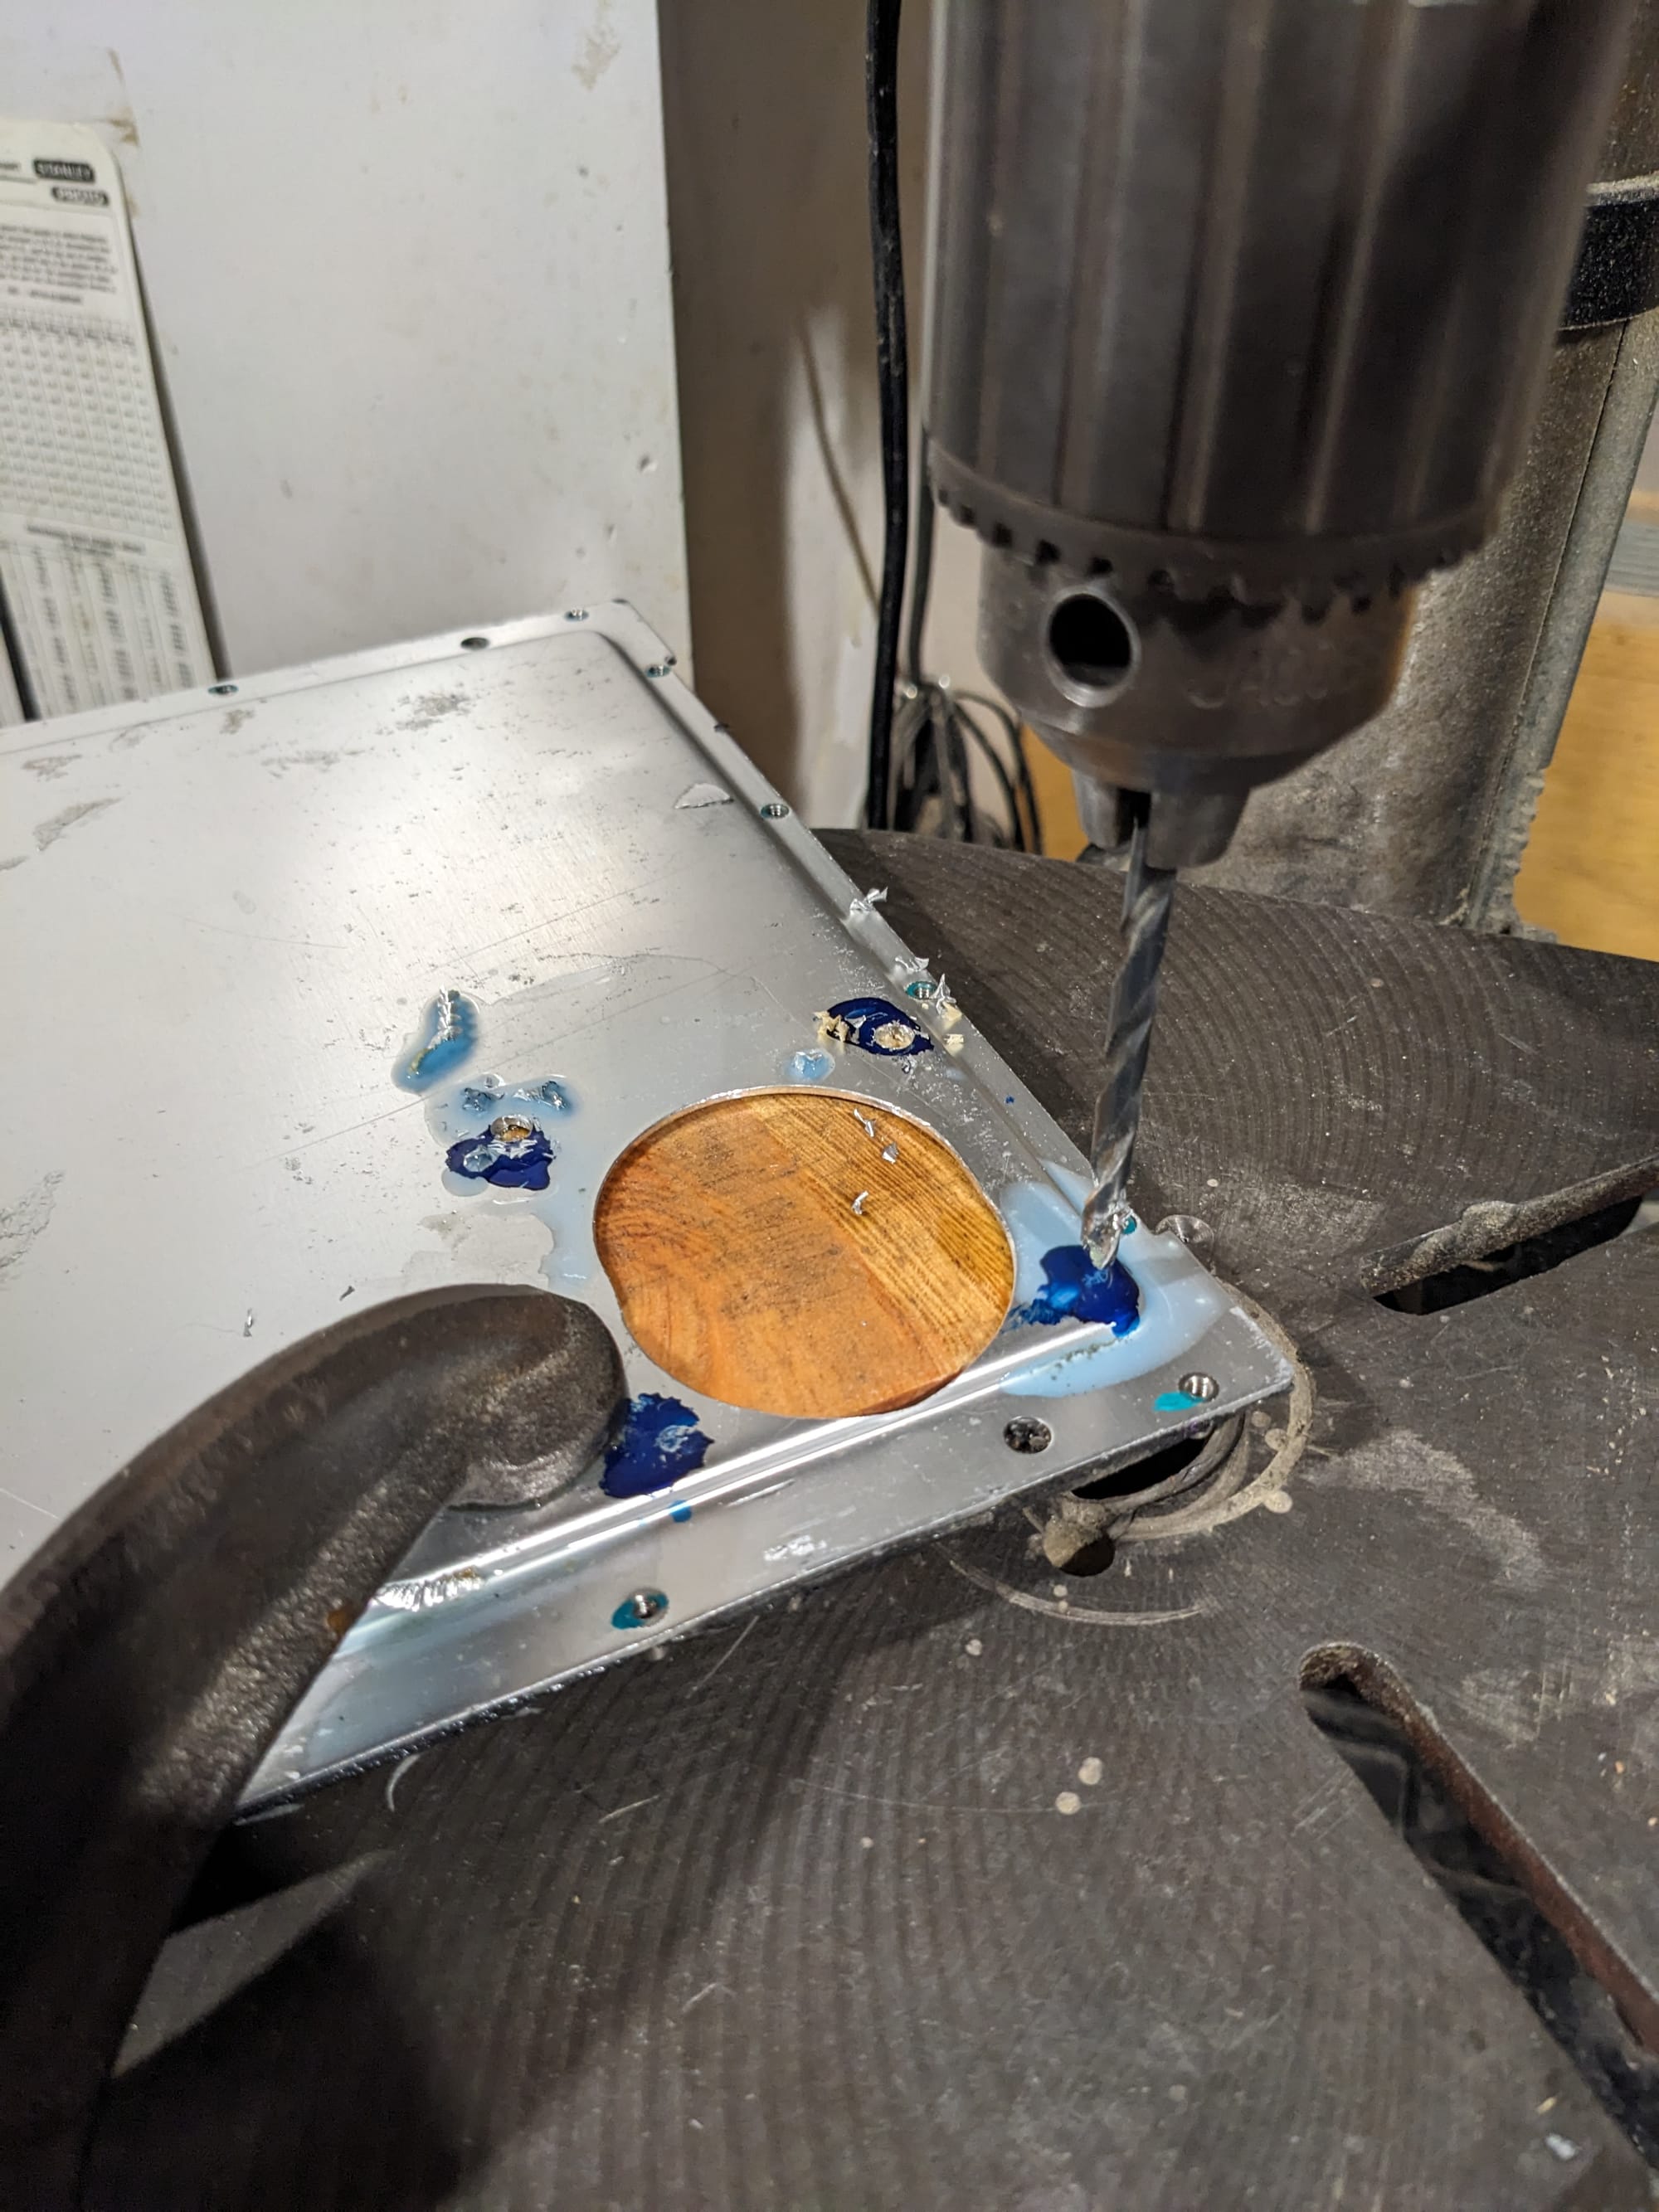
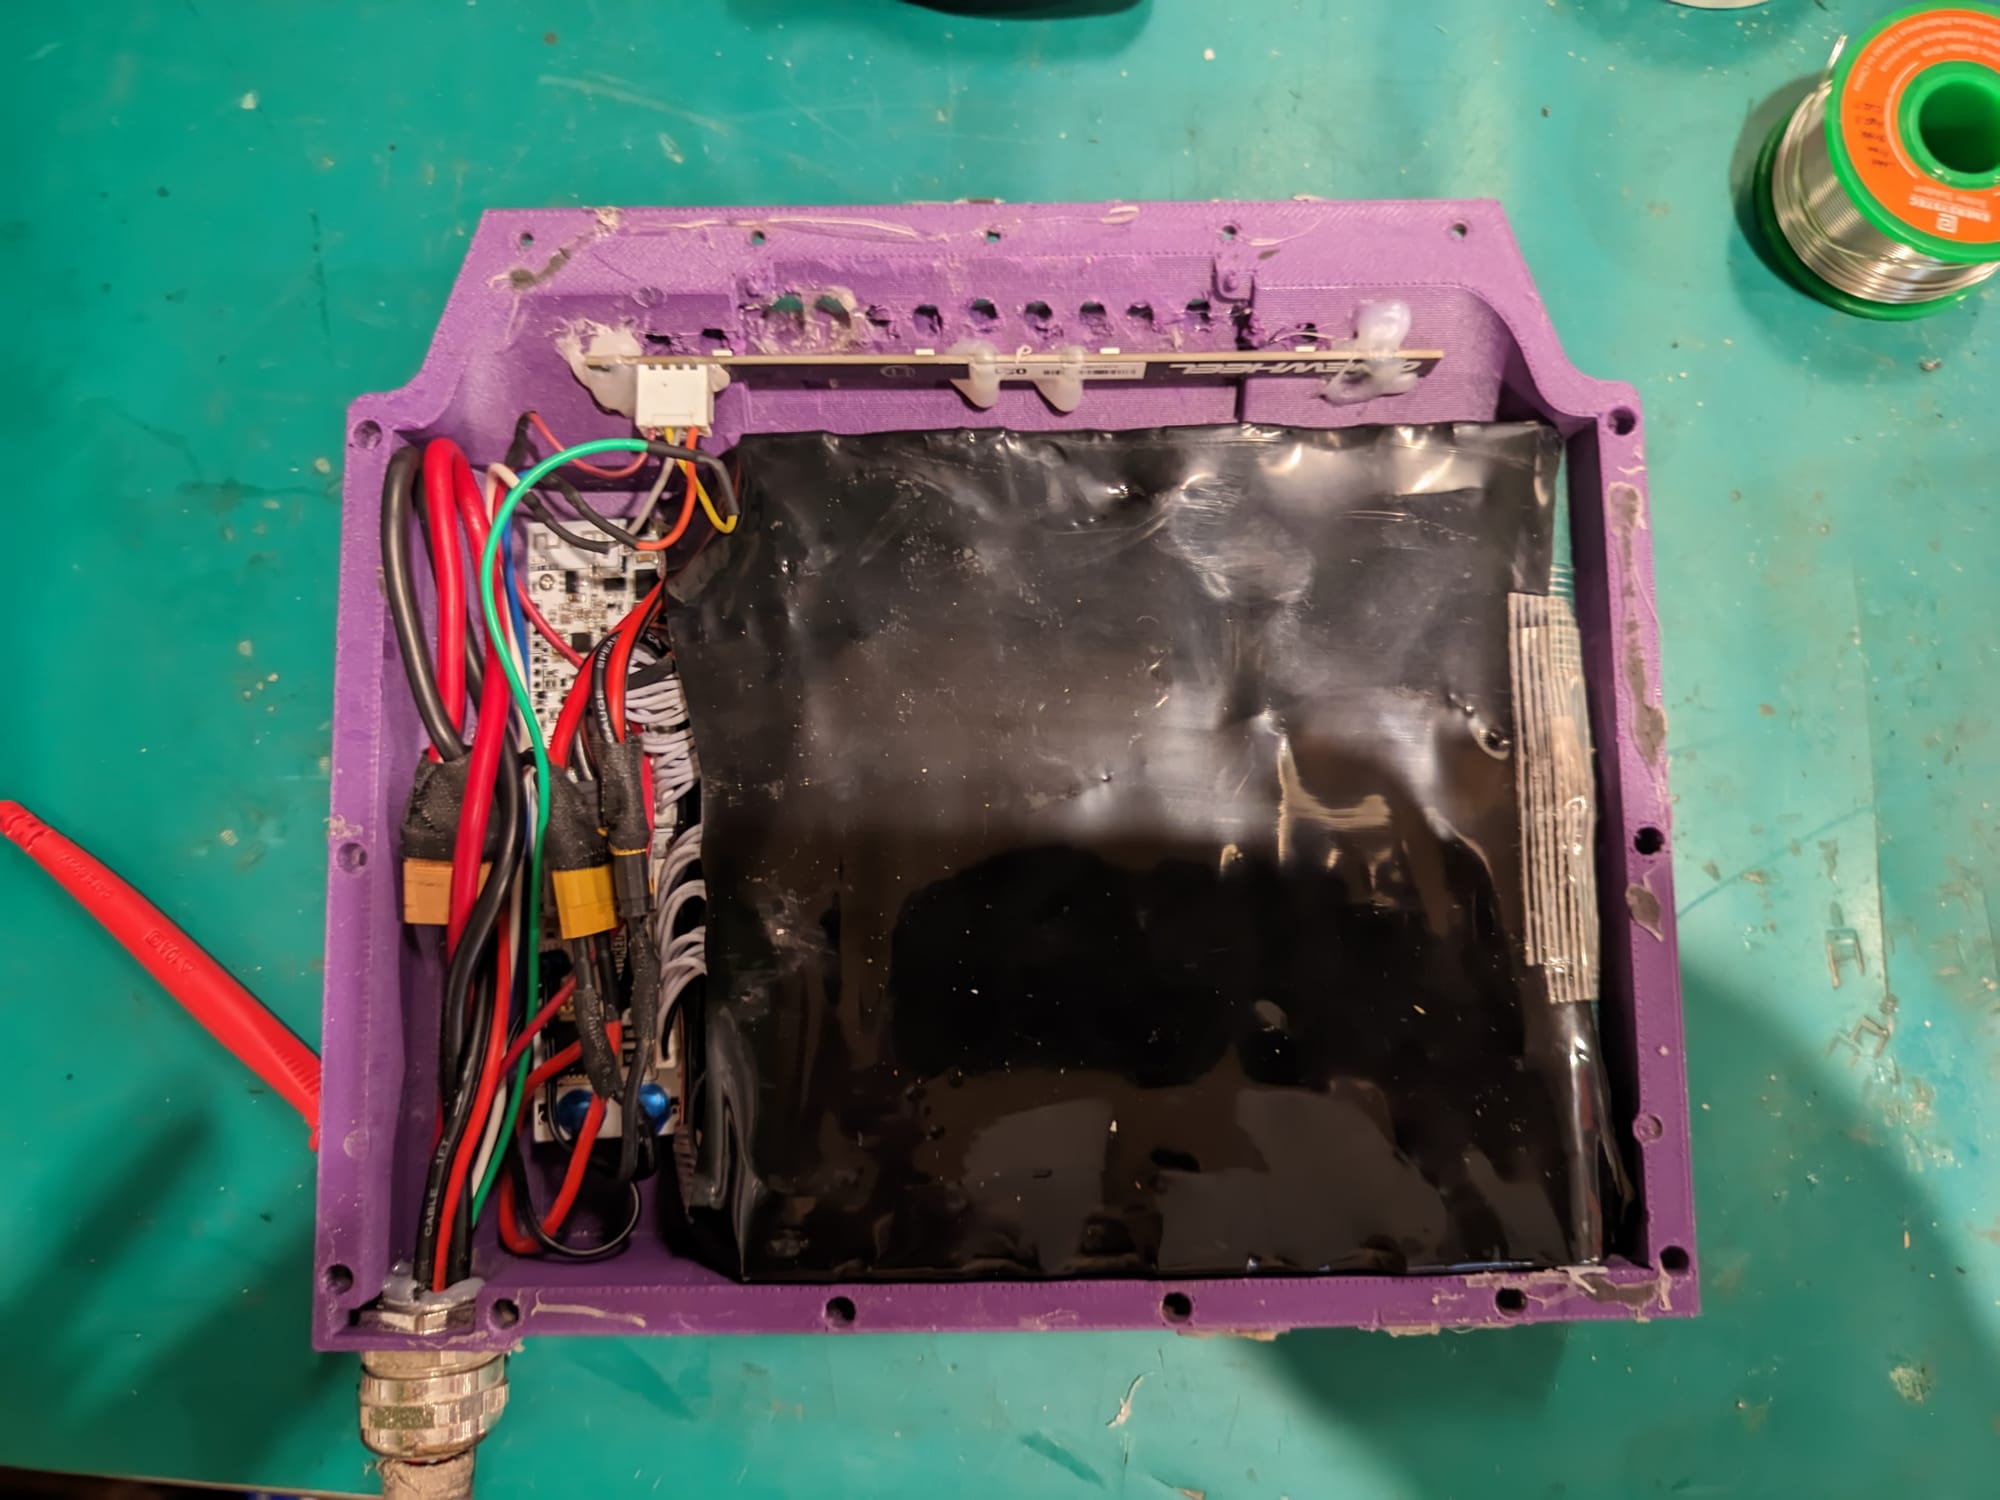
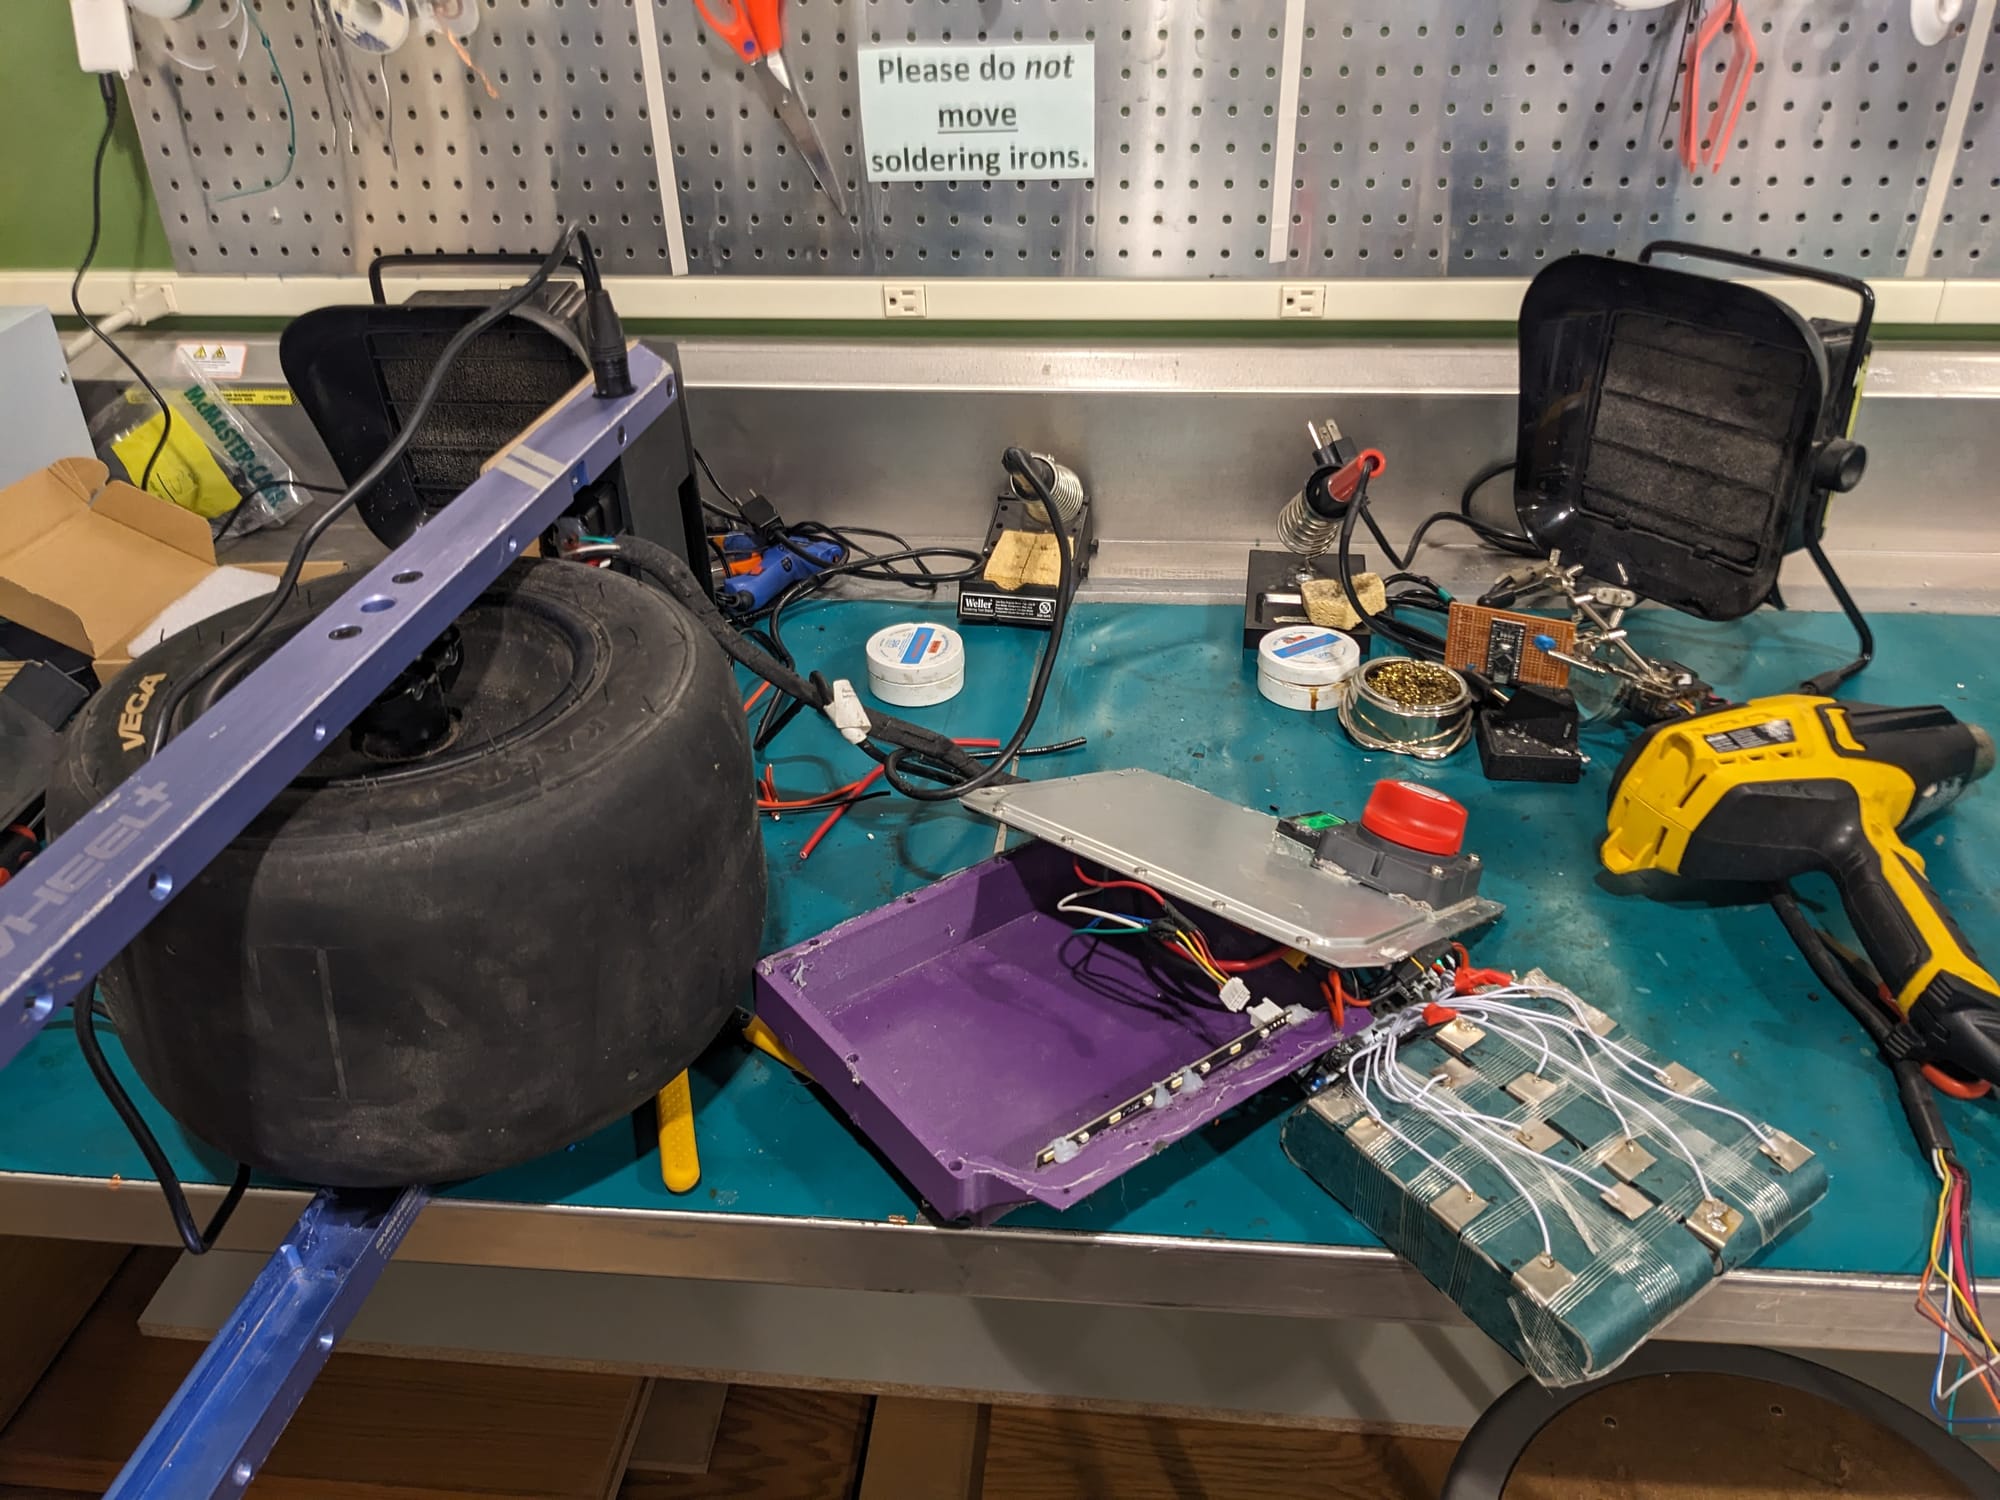
Casing & Printing
Ideally you would go with a TorqueBox. But I'm cheap so I wanted to print the box myself. I went with the flow glider battery box and printed it in PETG as it was a good cheap material to test in. If you wanted it to be really durable you should print it out of a nylon (like PA12). I have had no issues with the PETG box so far beyond scuffing.
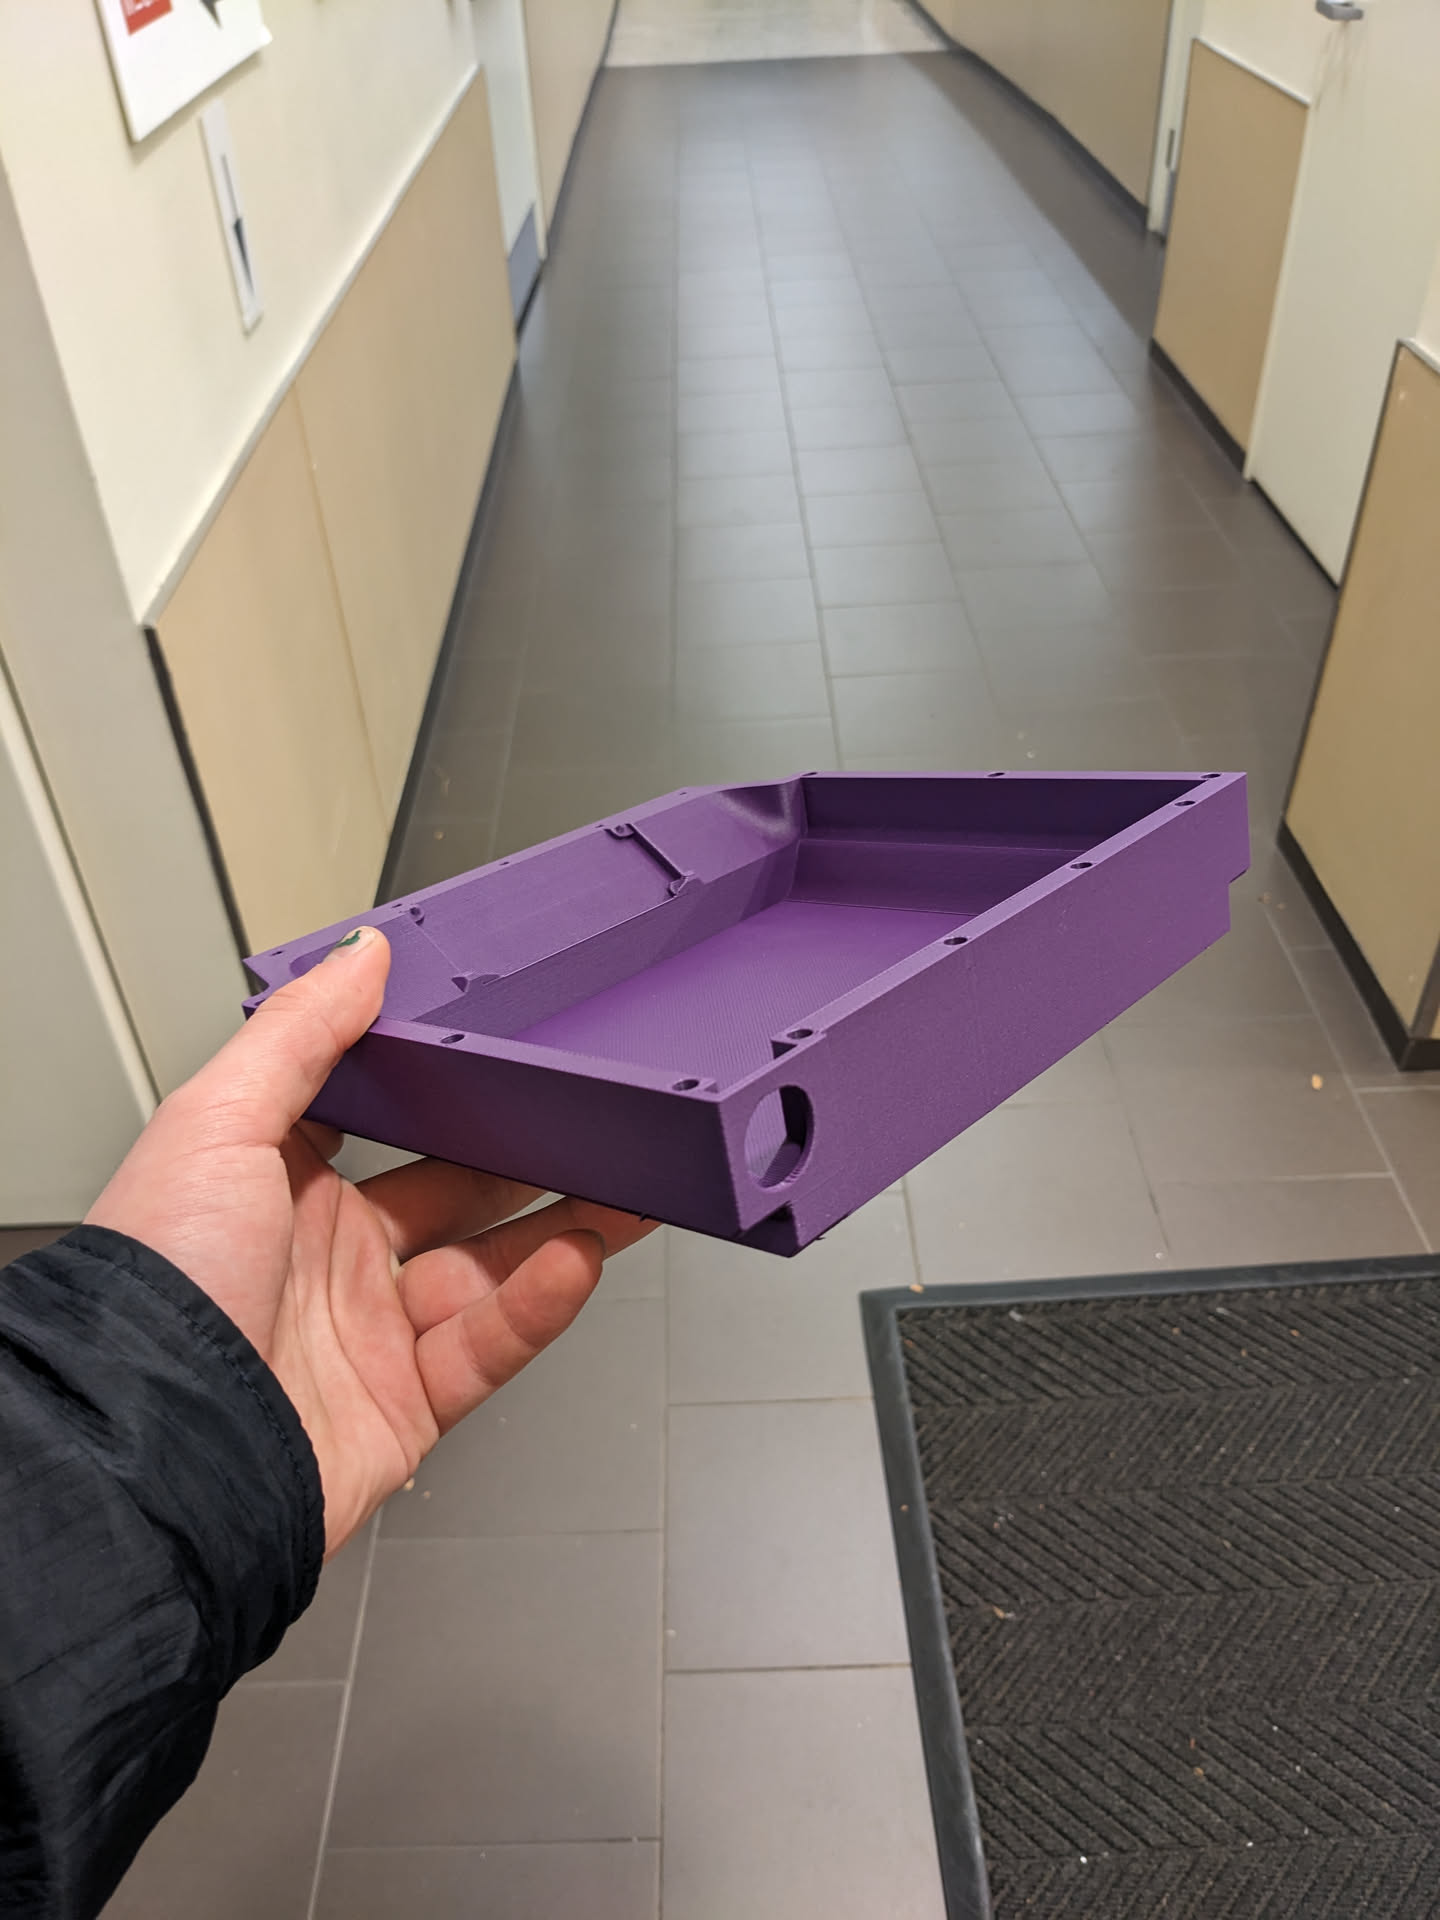
Printing out of PETG will cost around $10-20, PA12 will cost around $100-150, and a TorqueBox will cost $300 (or $200 on black friday). I've ridden the board around 200 miles and it's fine so far. If you can, grab a tourquebox, if you can't print it out of PETG.
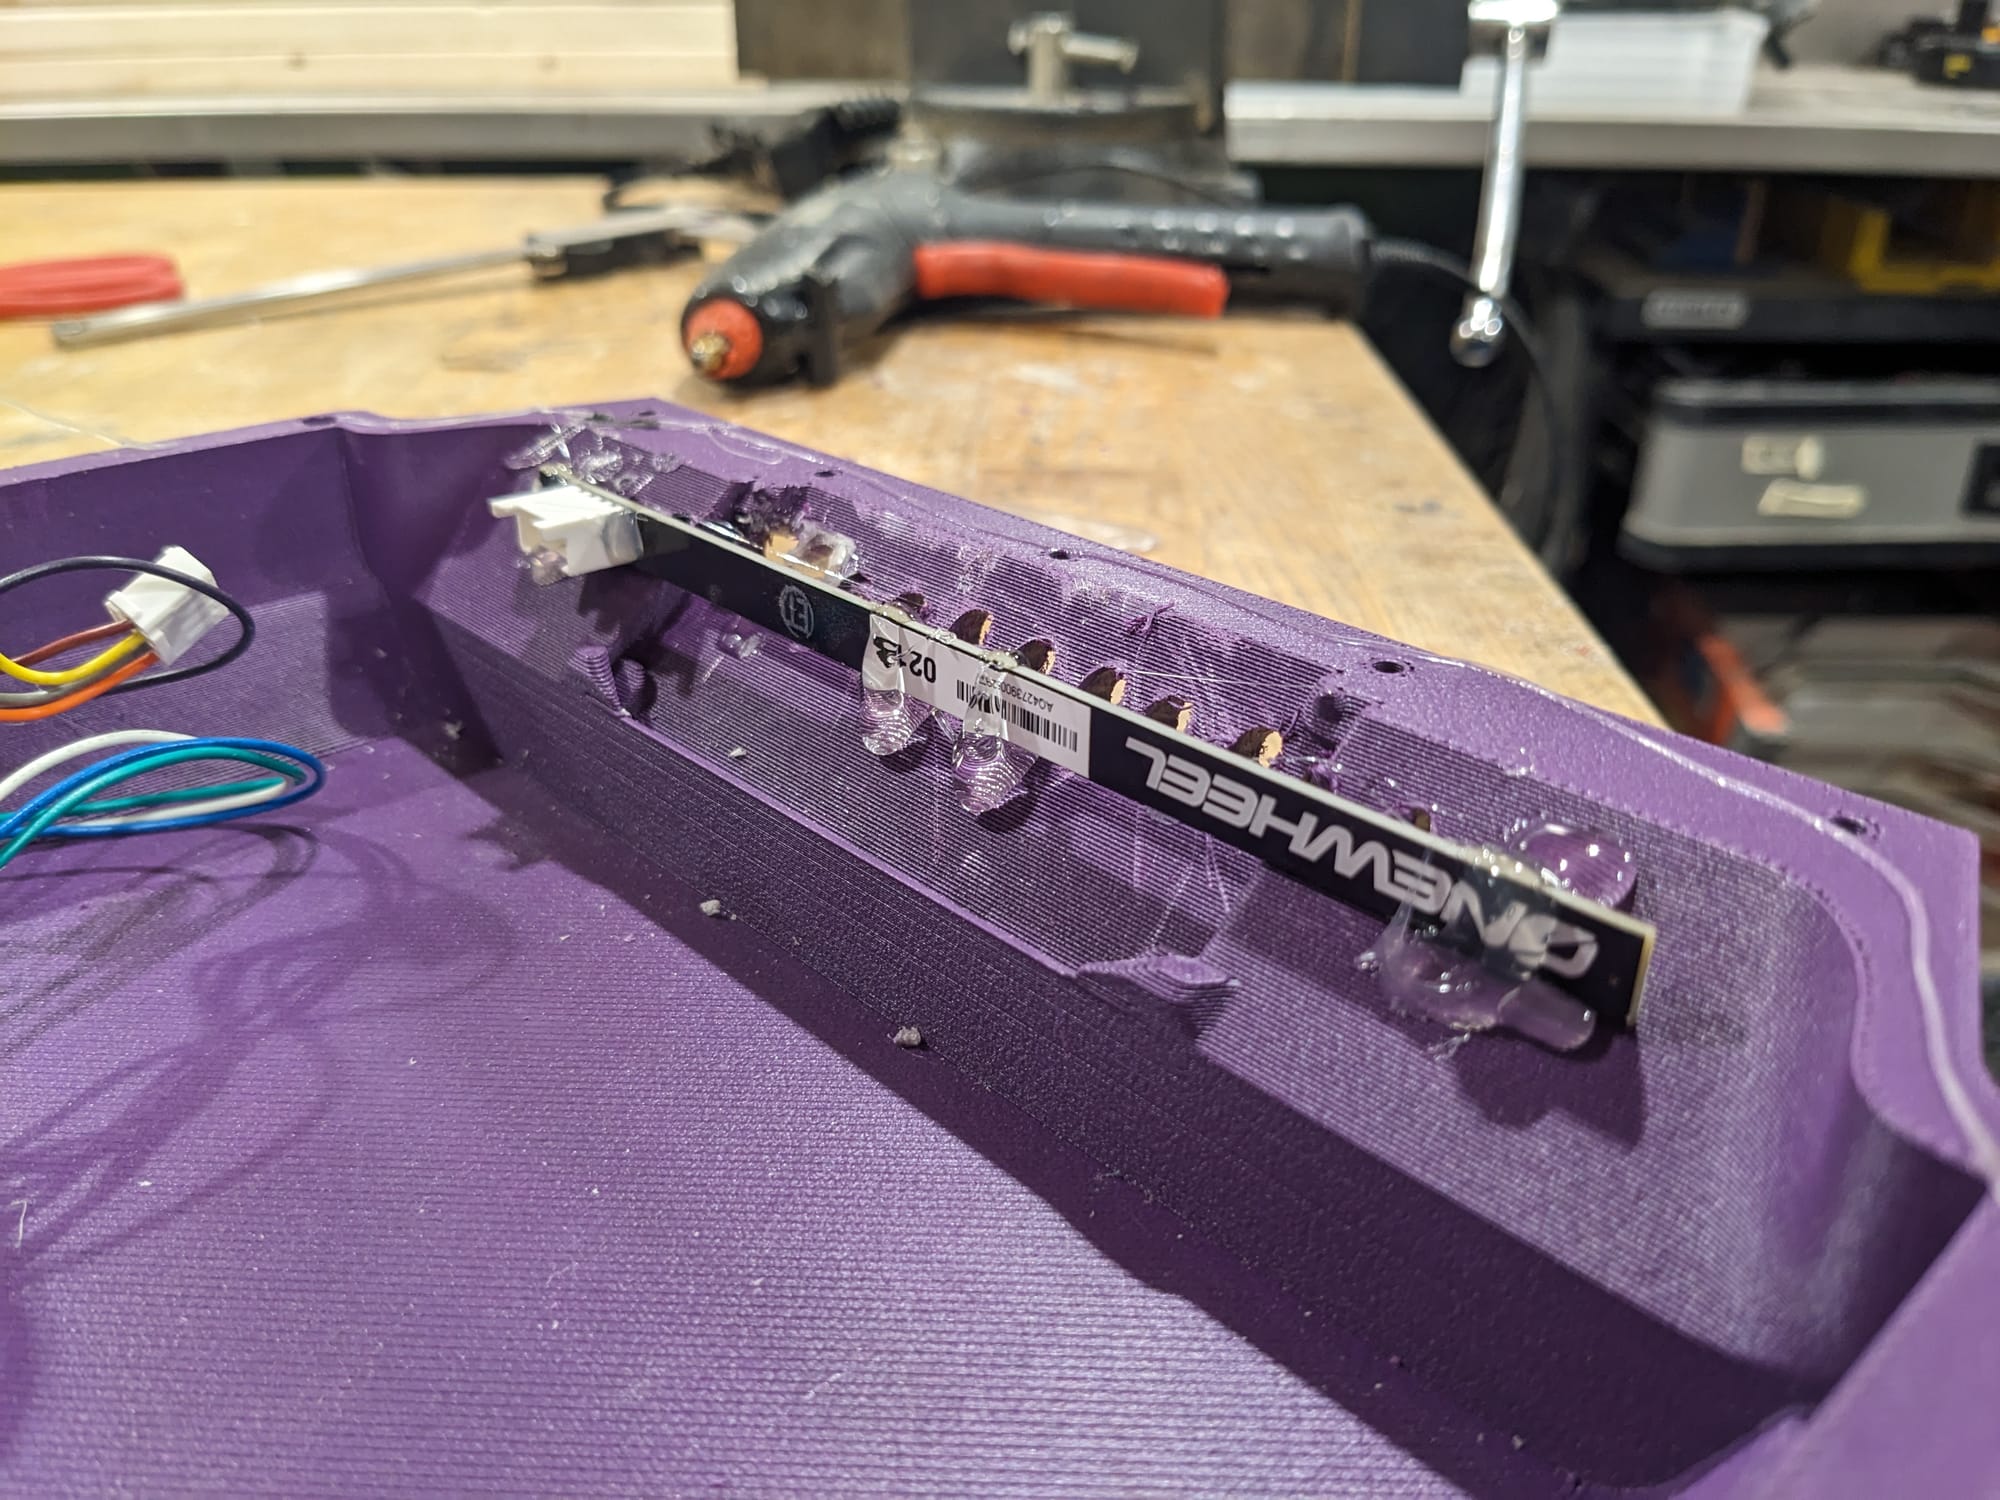
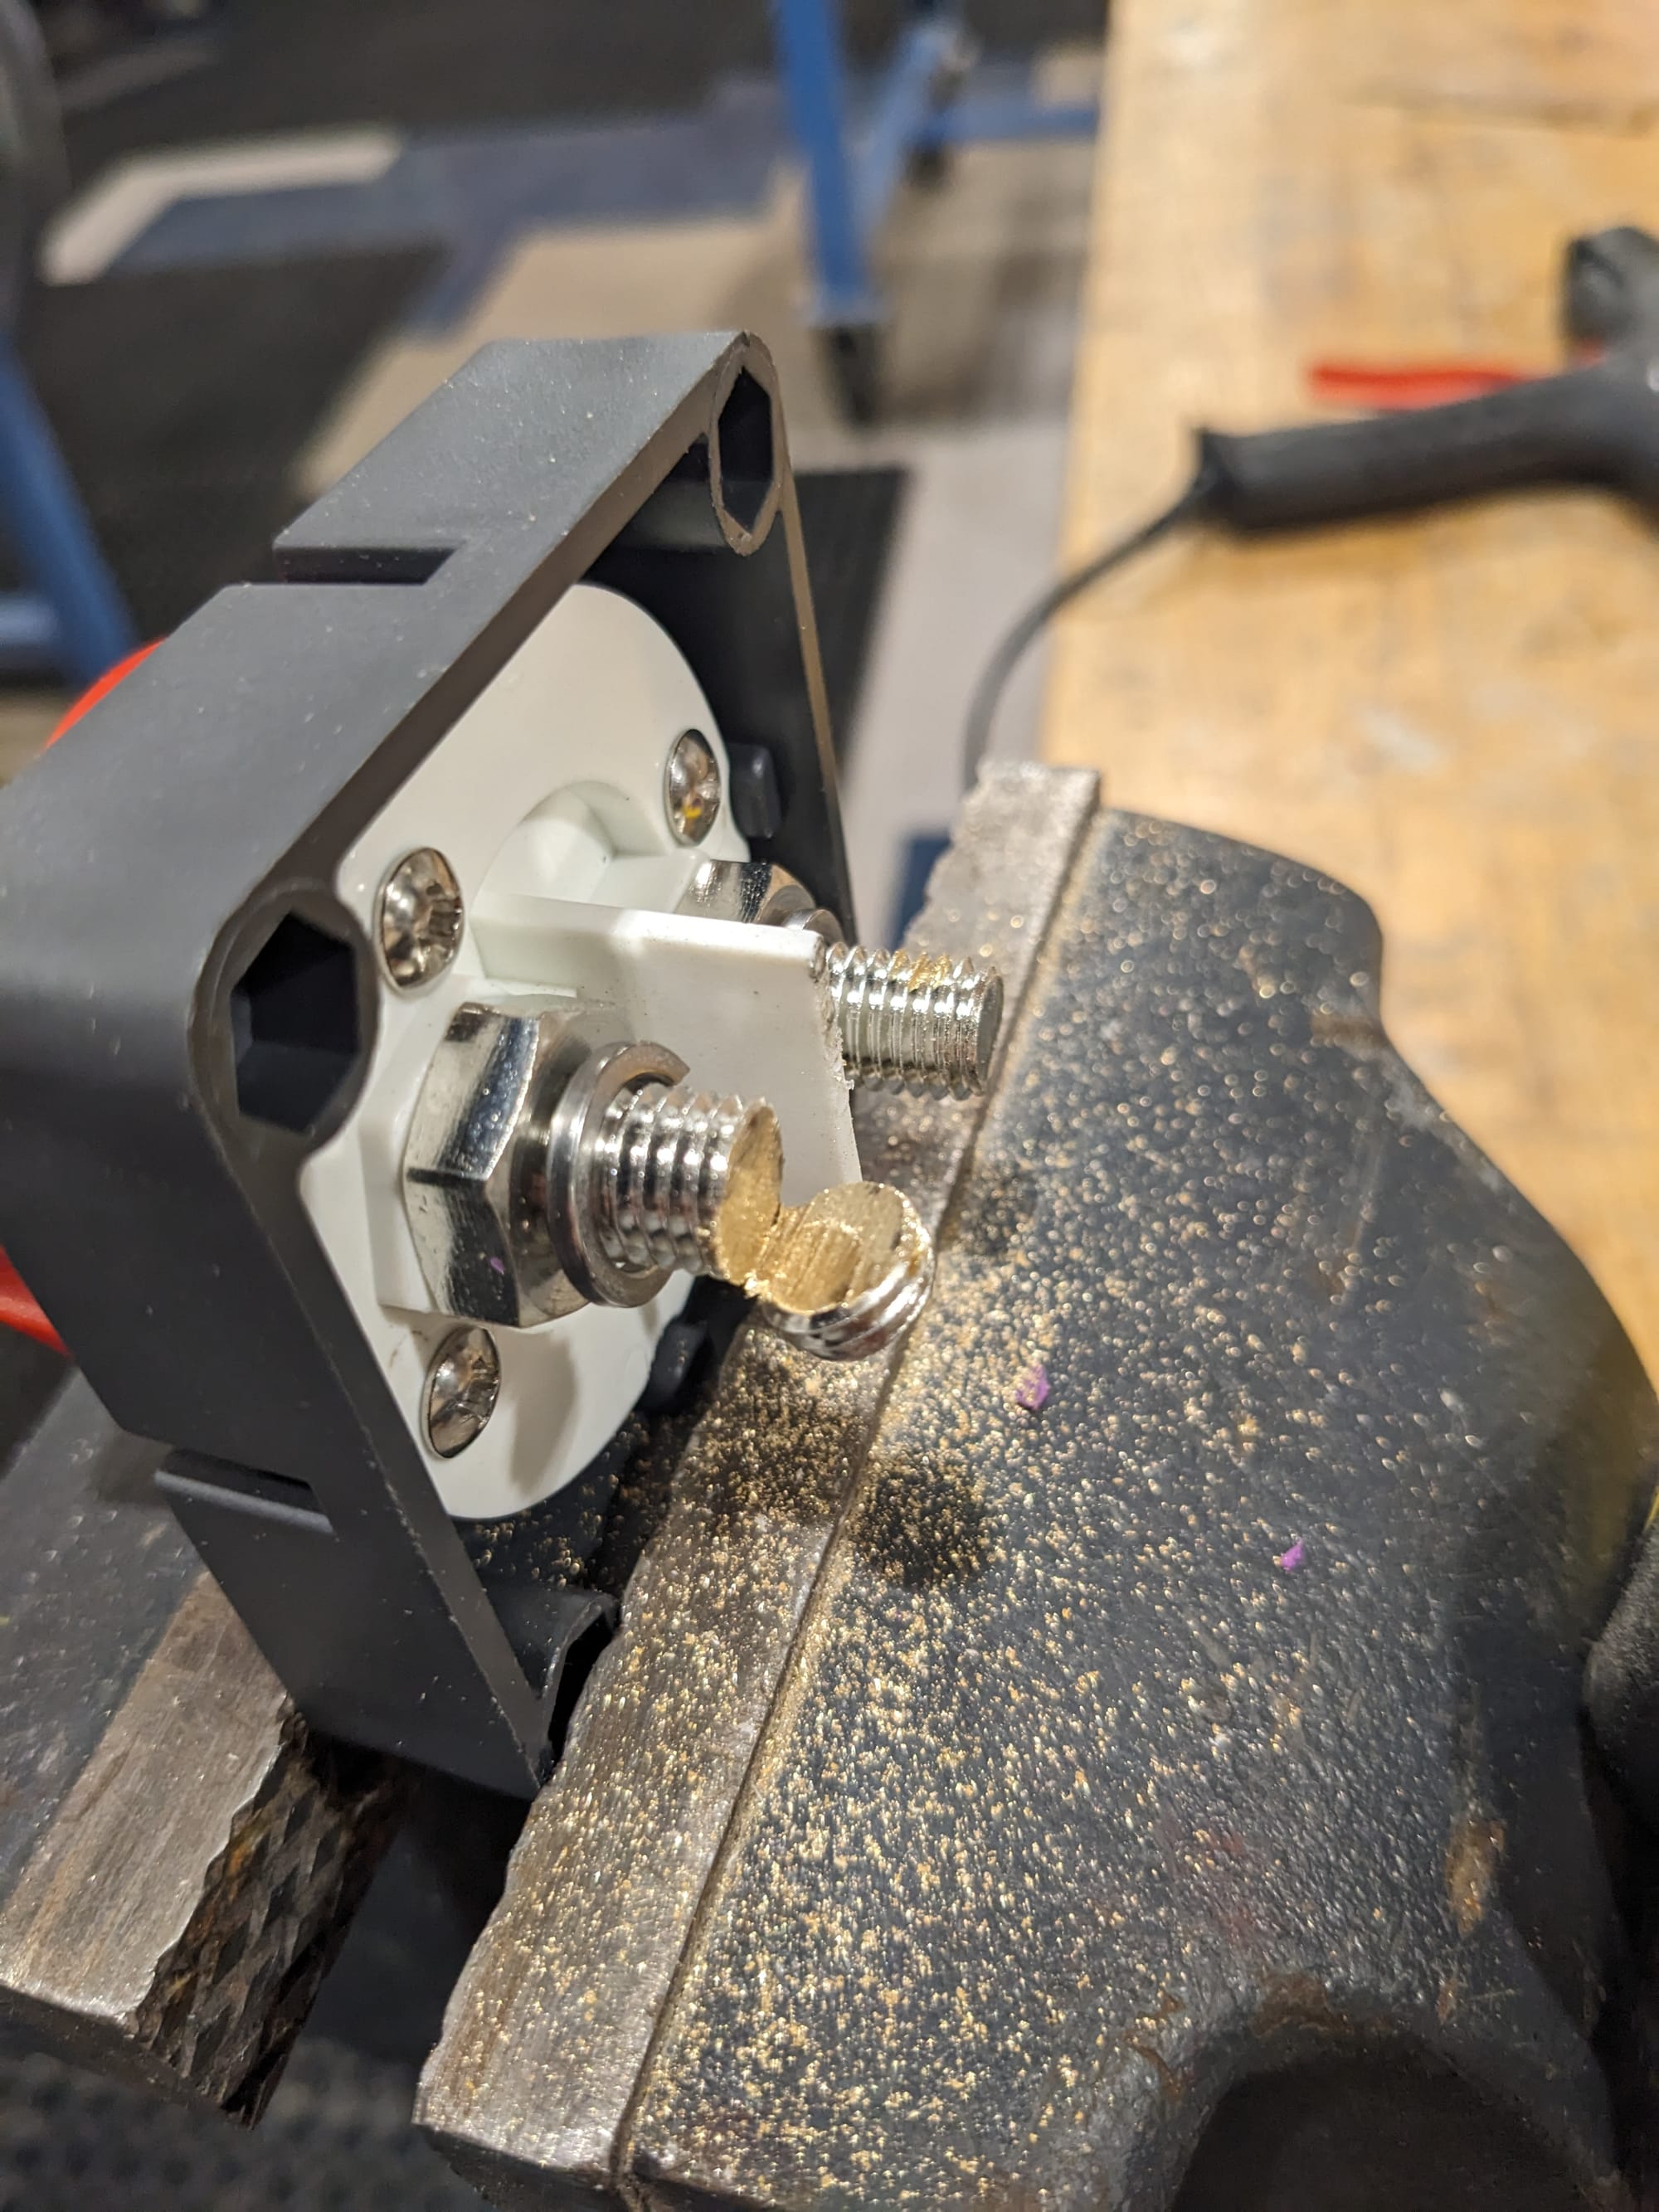
If you're printing yourself you do have to move the threaded insets from the old box to the new one. You can do that with a simple soldering iron:
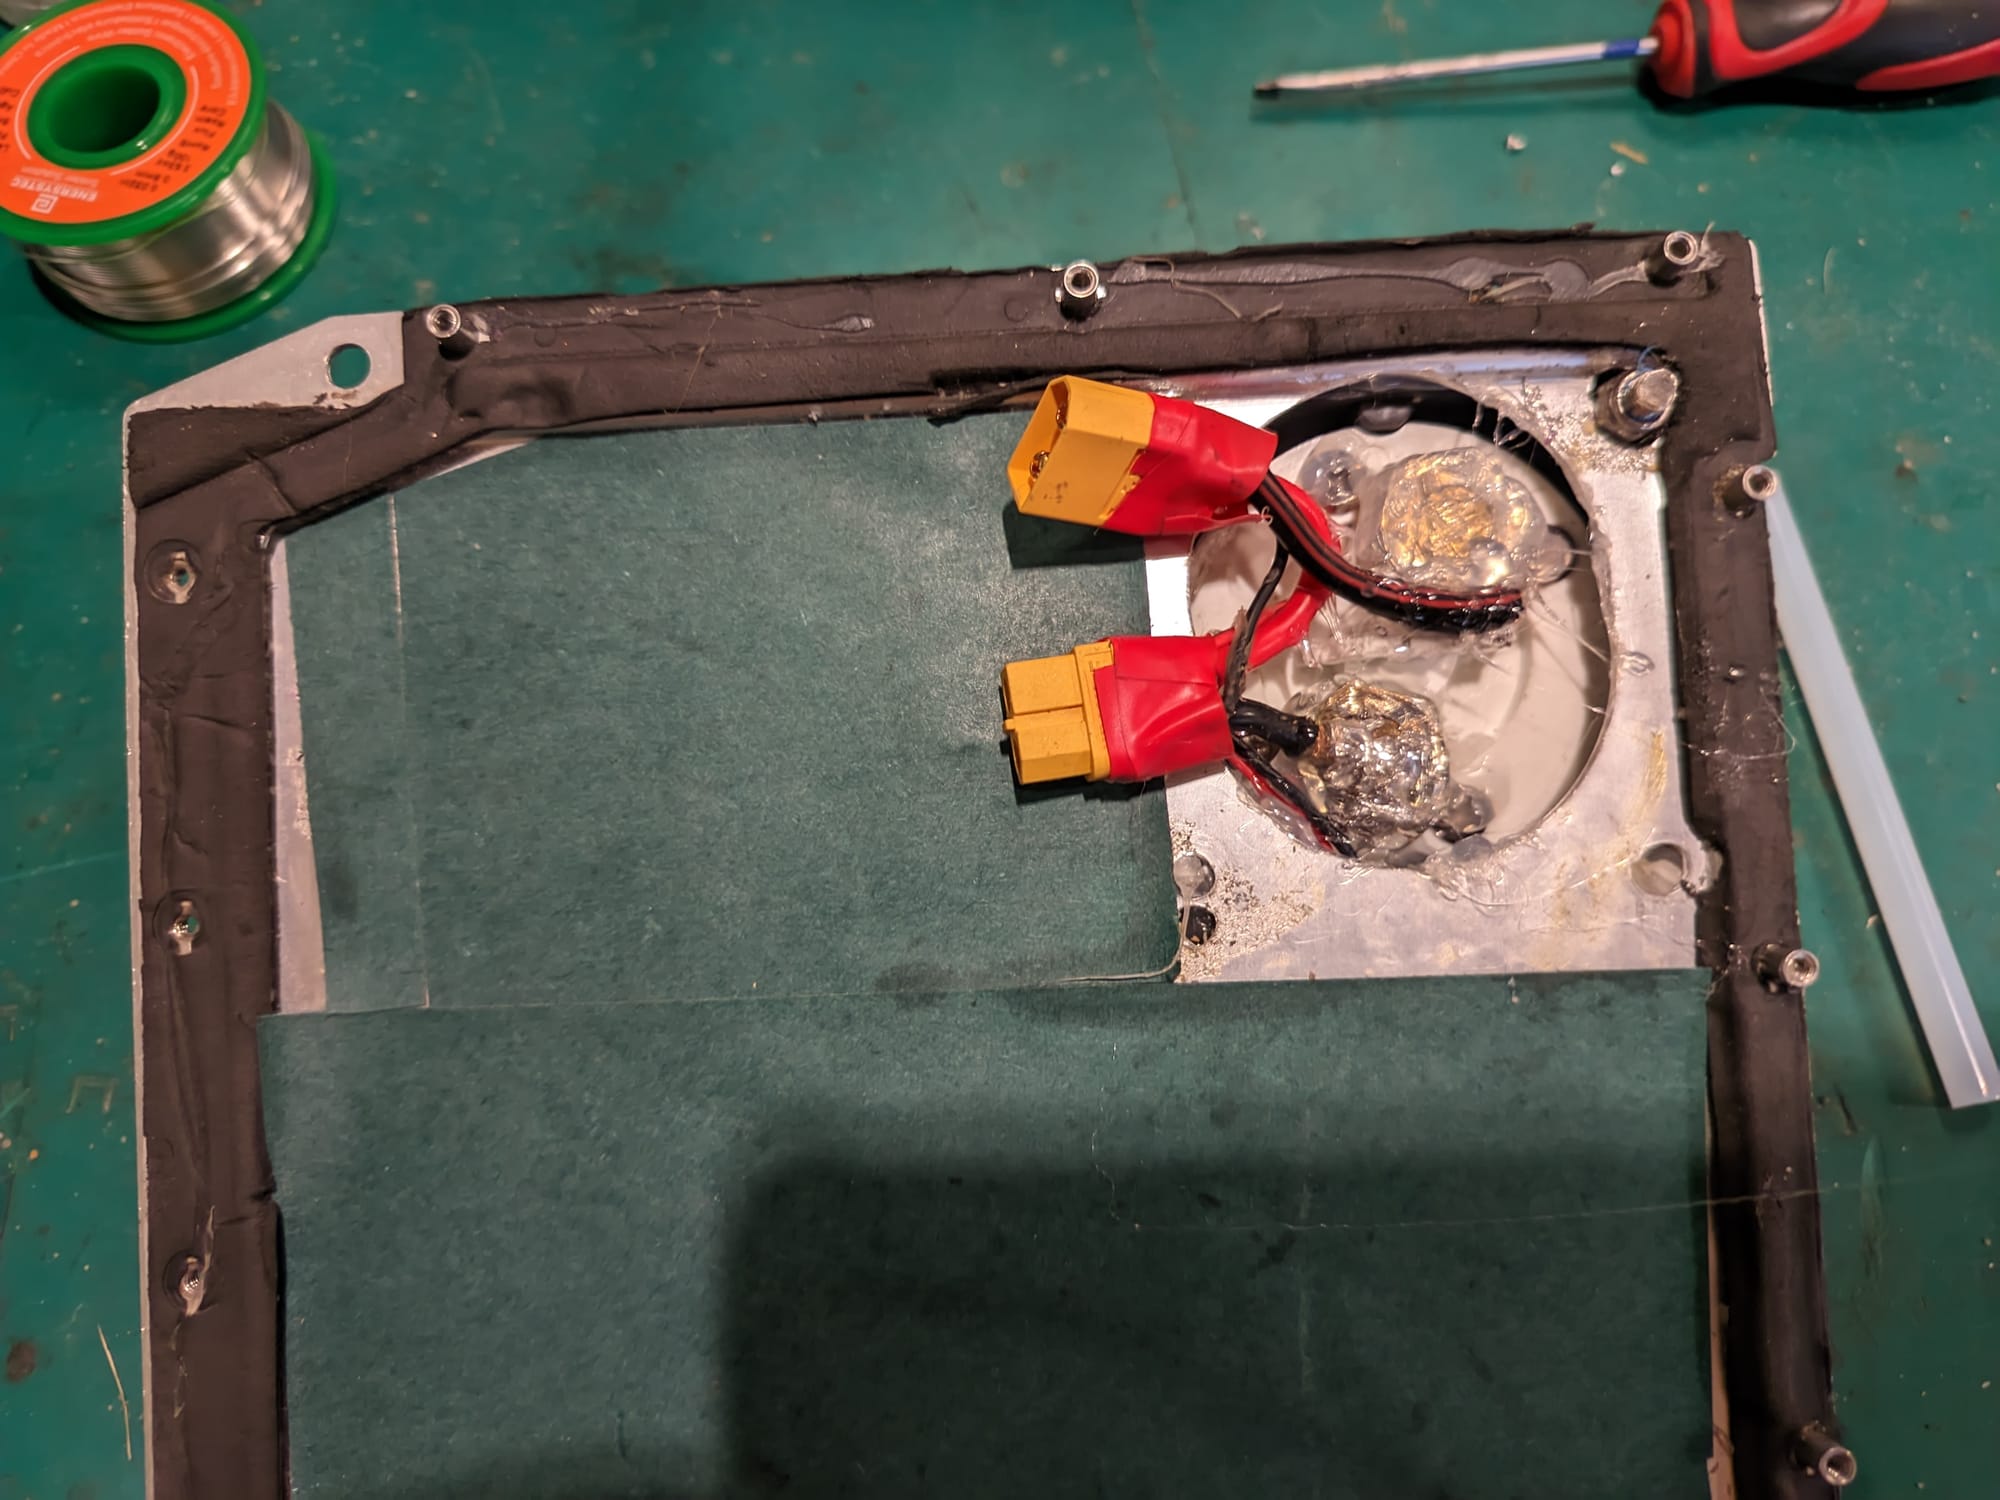
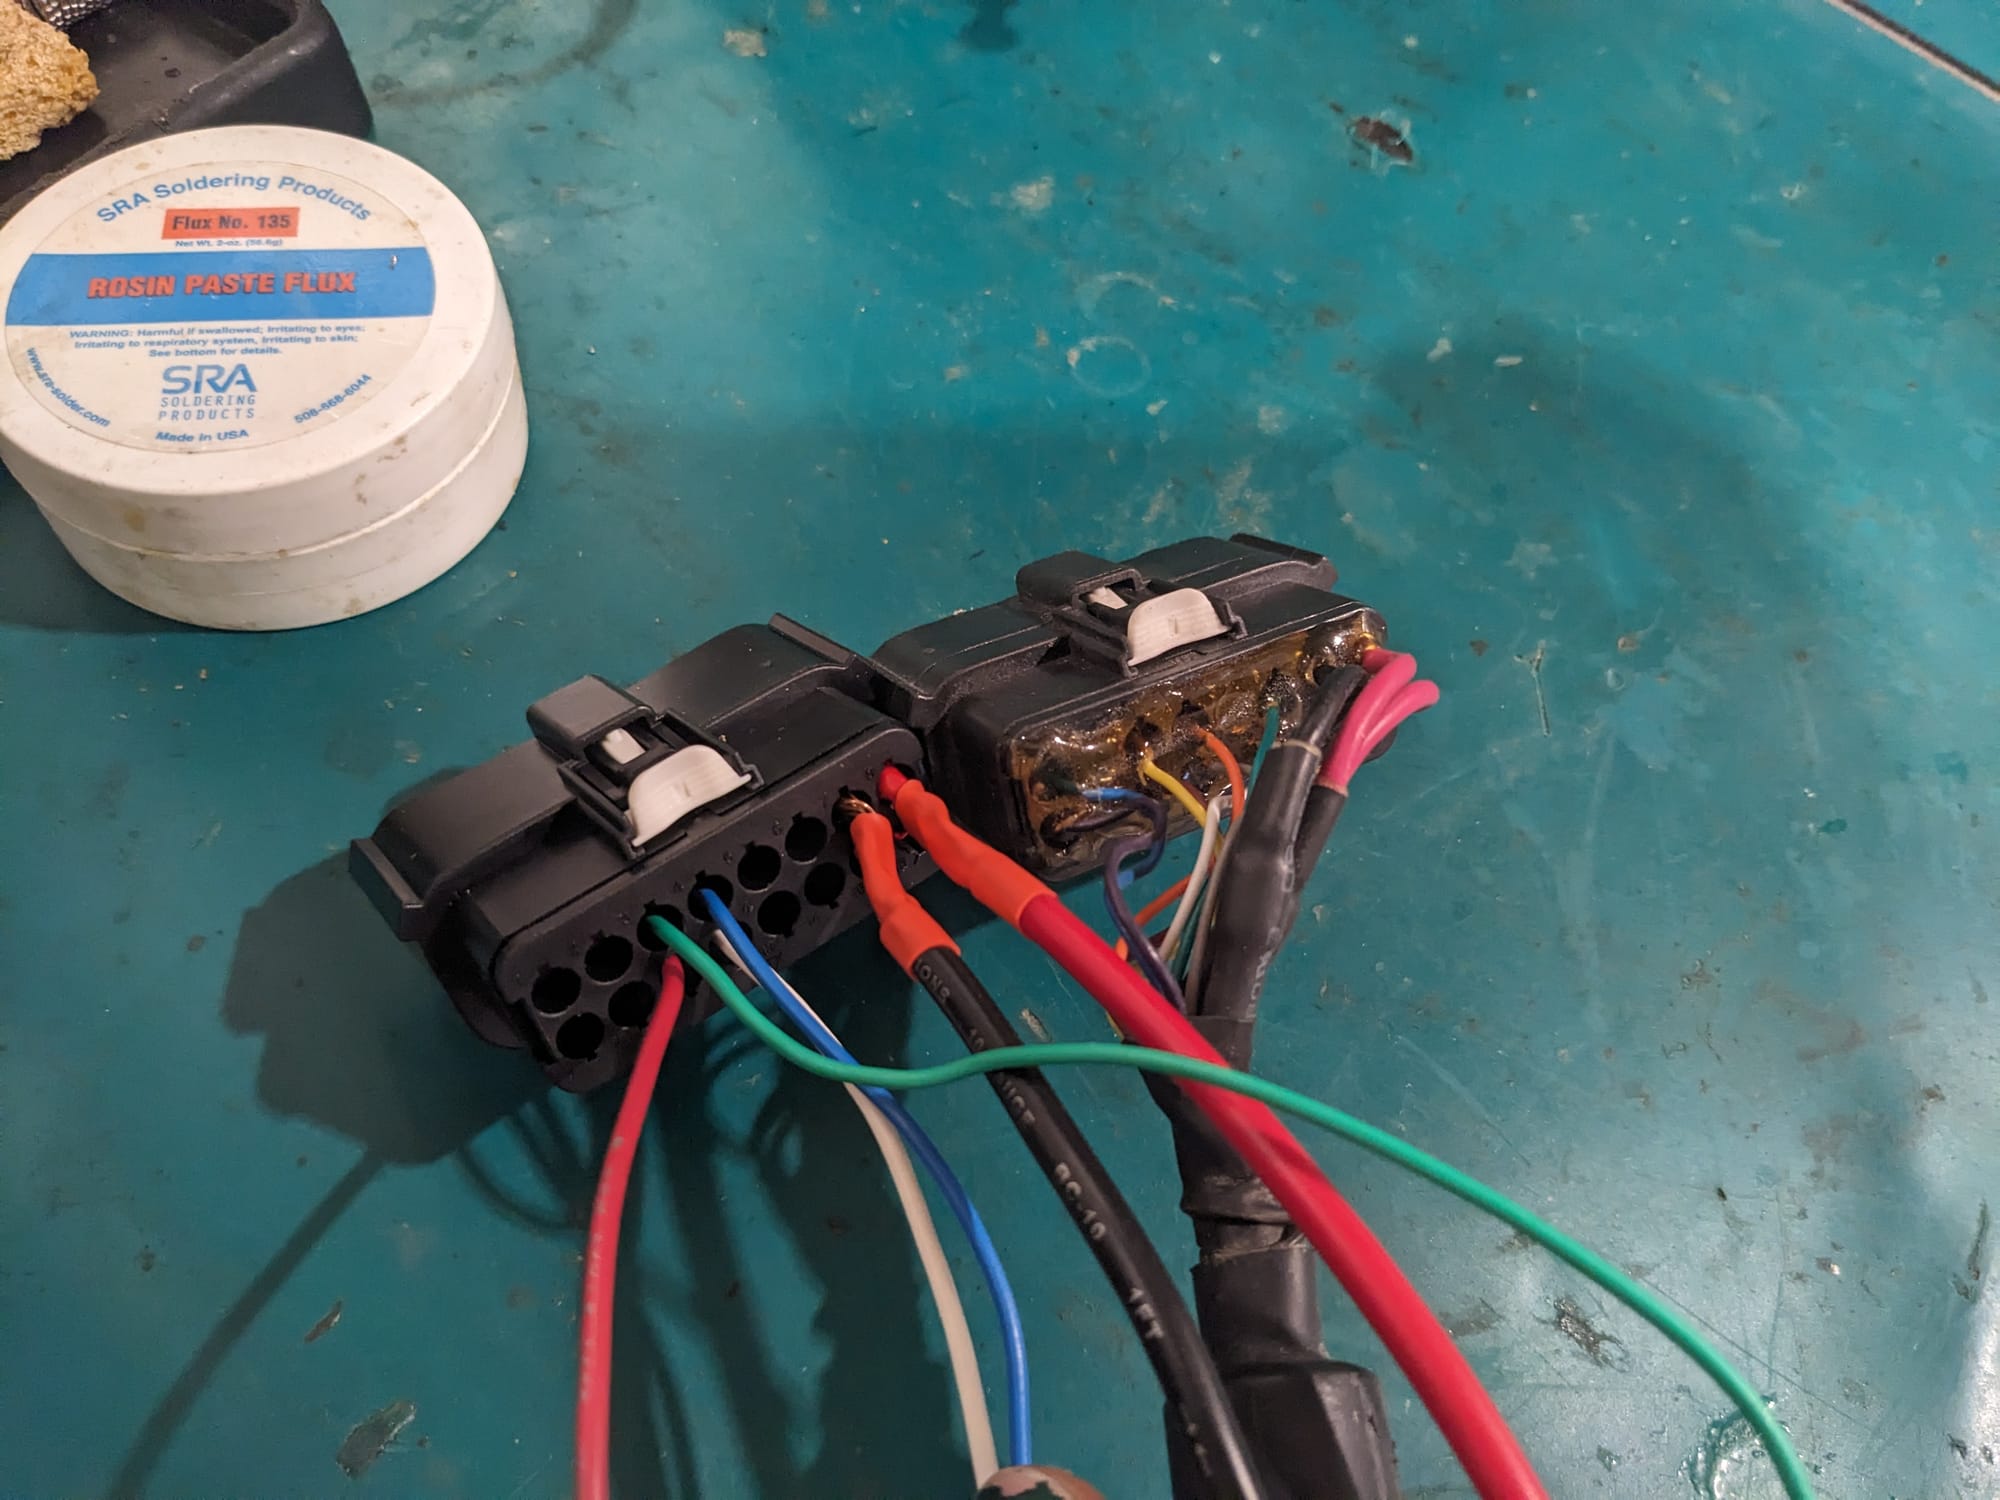
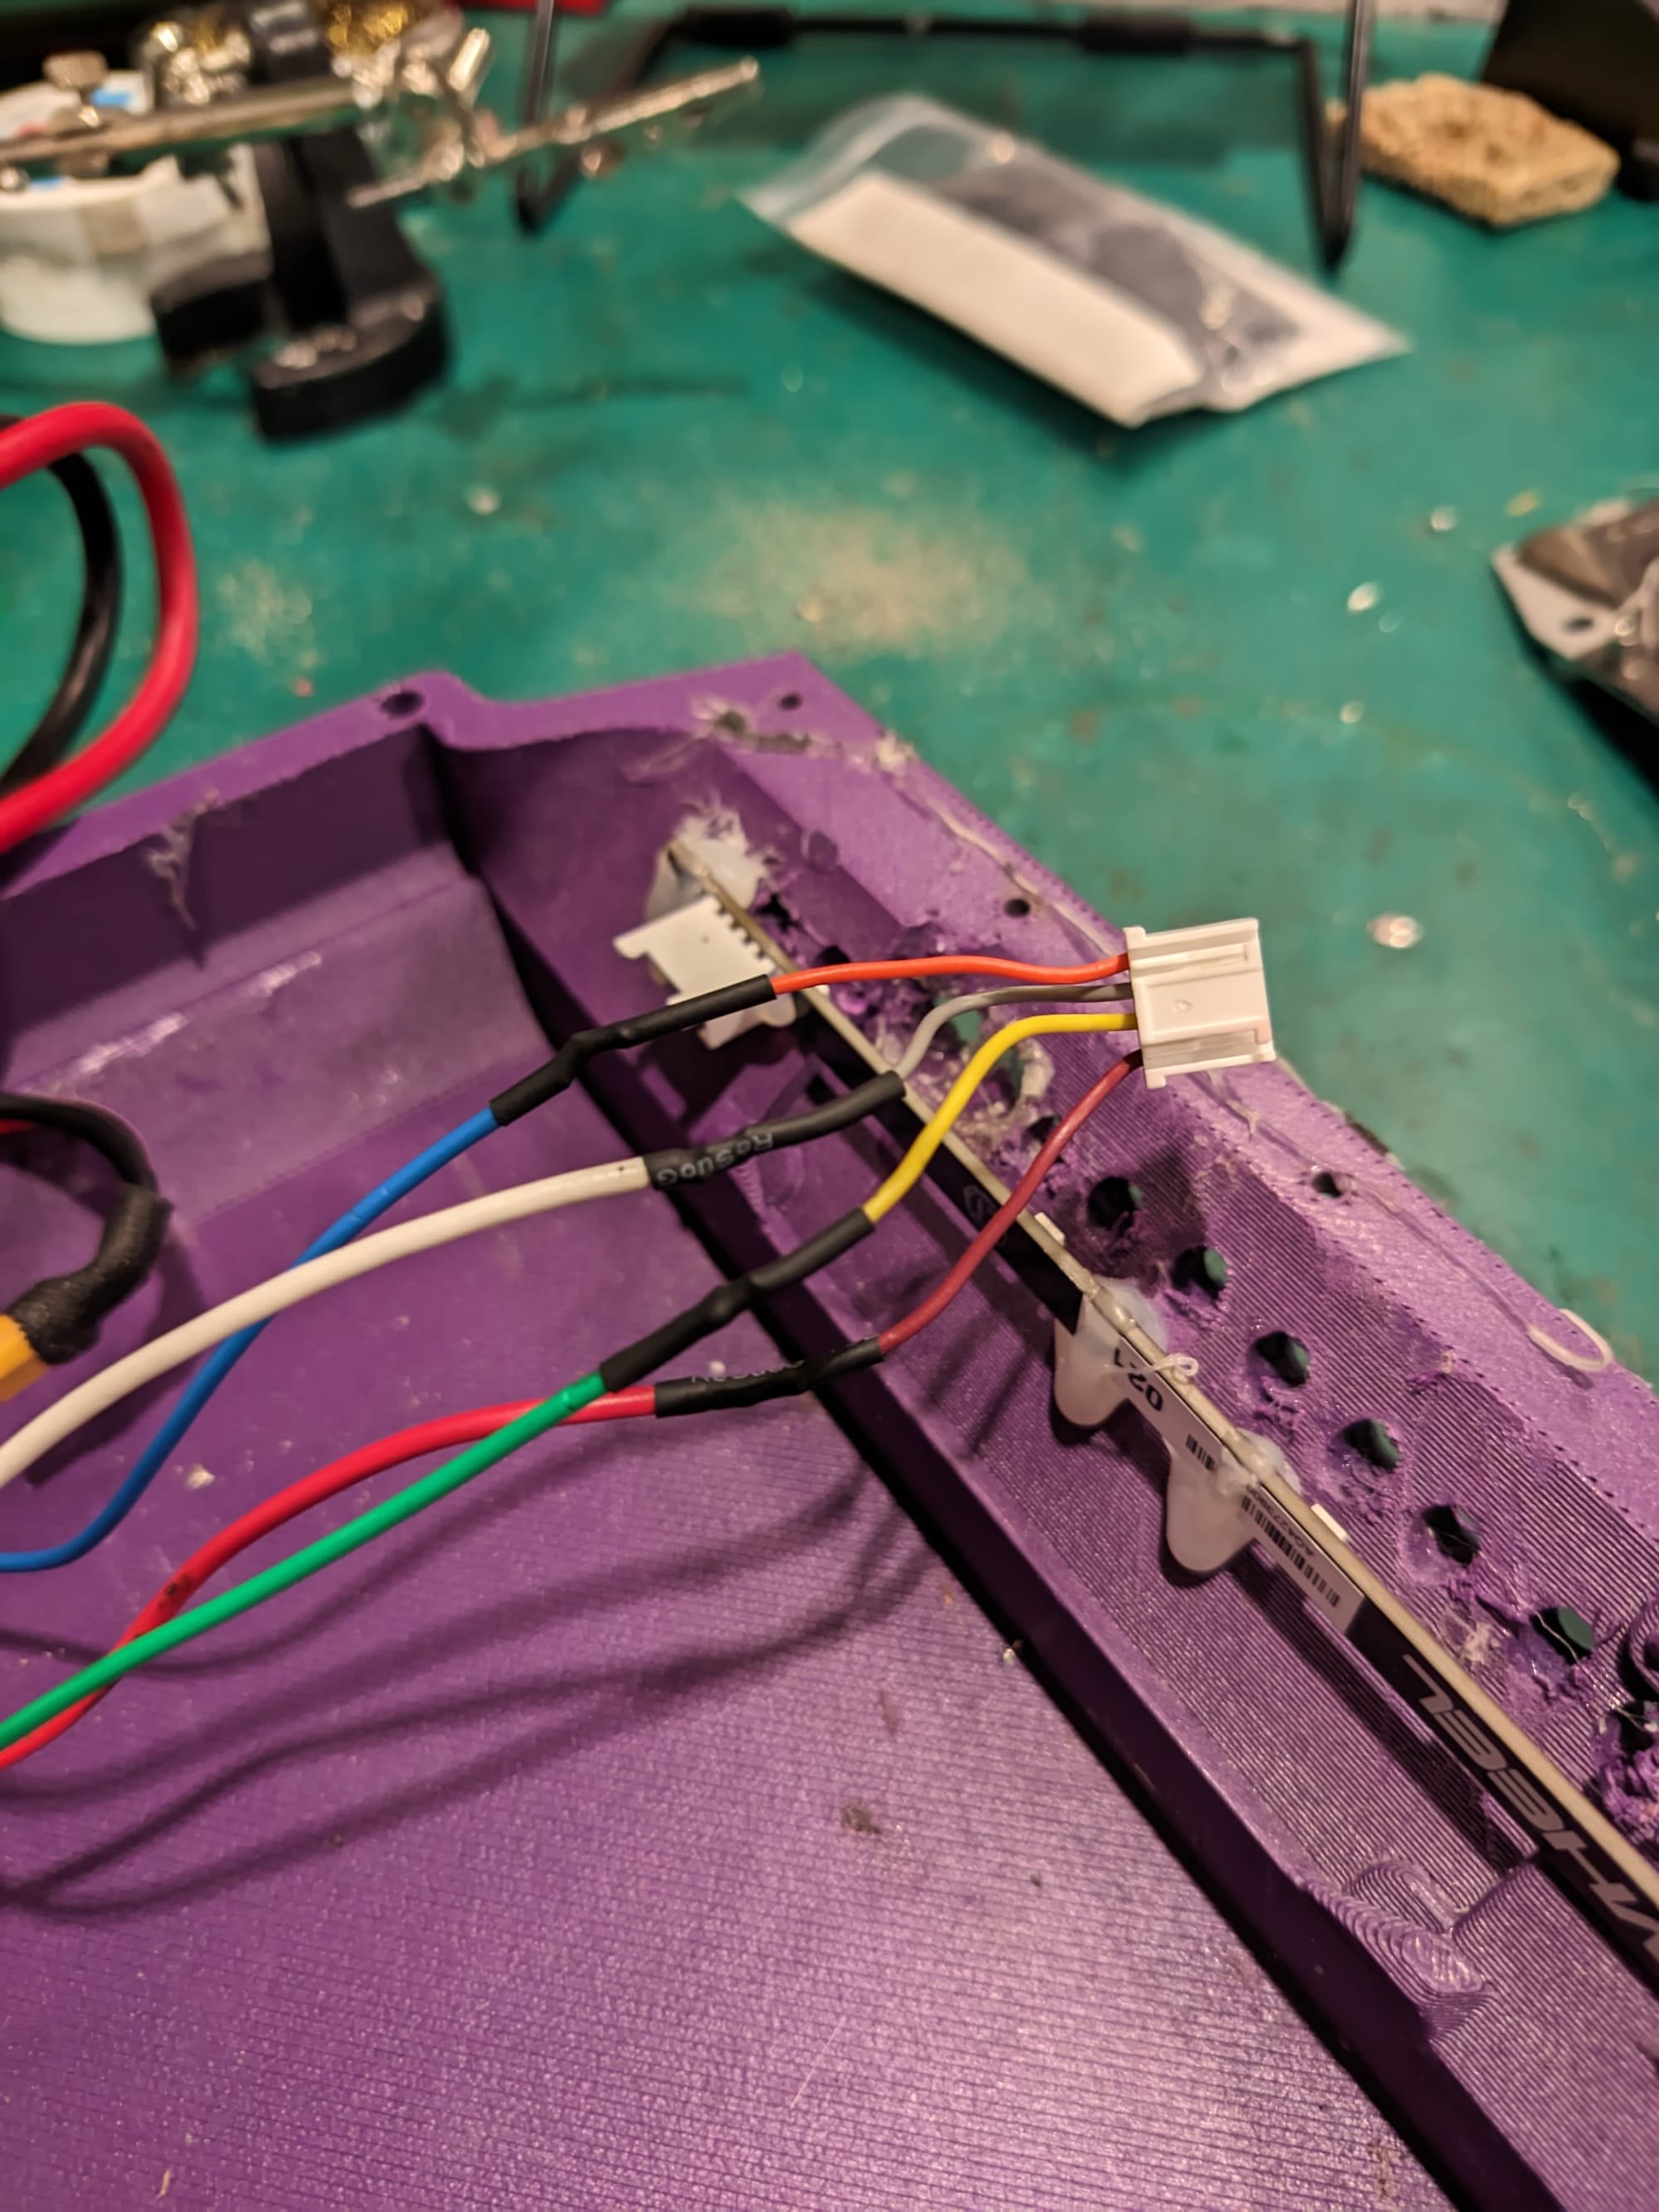
The Harness
So in order to use the SSMBS and many other BMS's, you cannot have a common port wiring (aka the charge & discharge go through the same cable). So you need a new harness. Building it isn't too hard: Video. You just need: the molex connector, some 18-22 AWG crimp connectors, some 14-18 AWG crimp connectors, and various wires. You can also buy a cable premade to be a harness with all the different gauges, but that's $65 in the US and just buying some wire is cheap. So I just built my own:
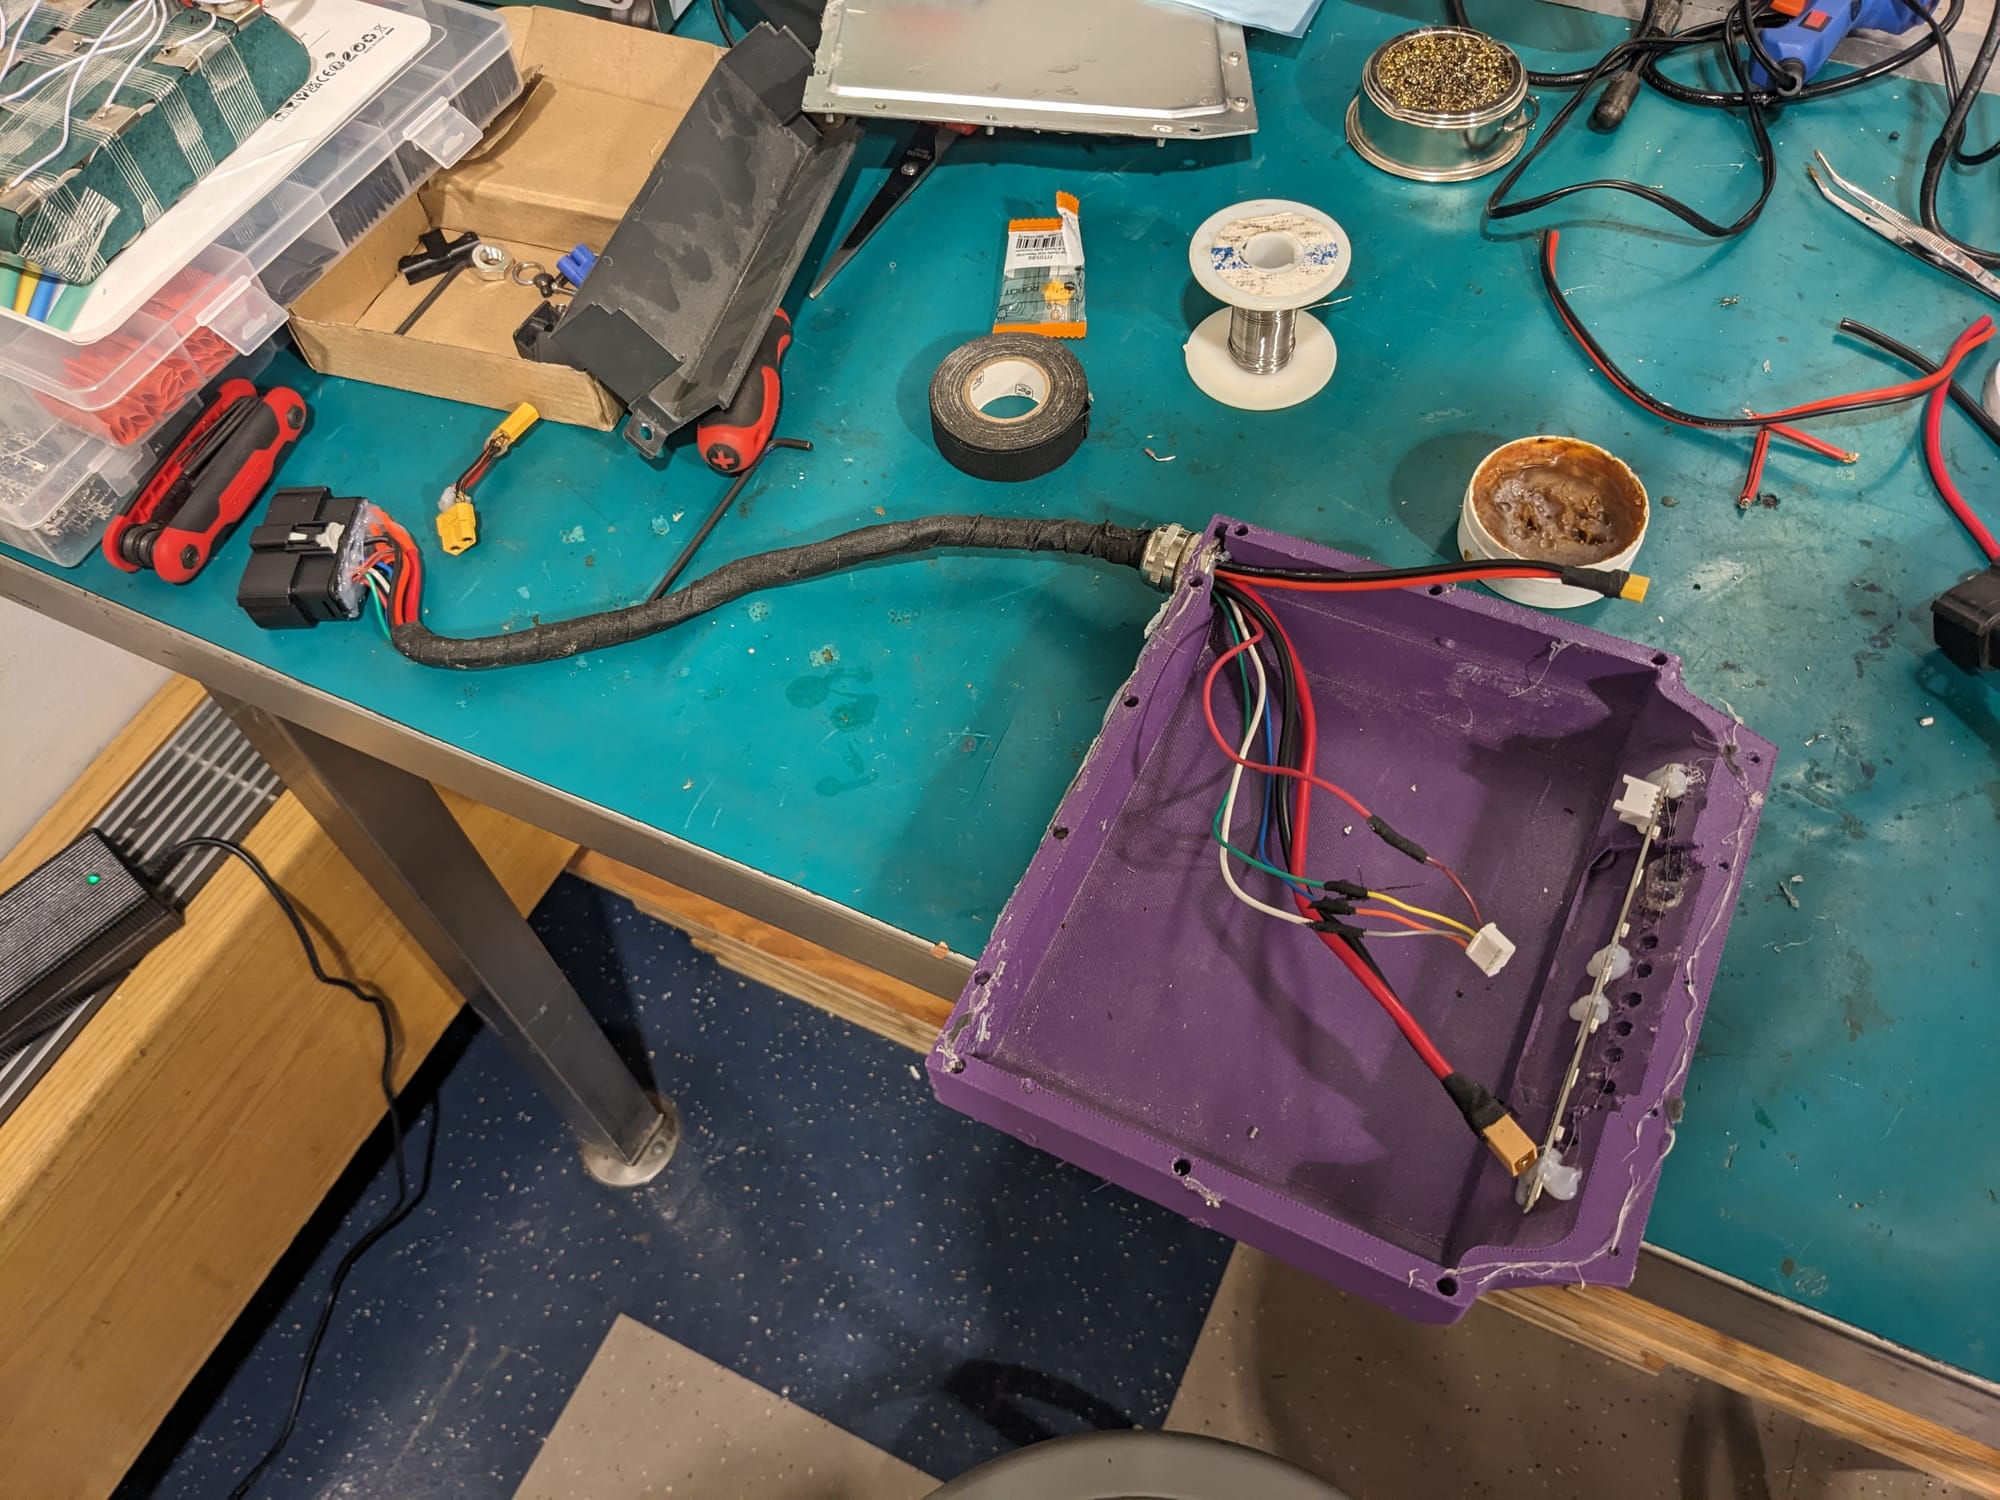
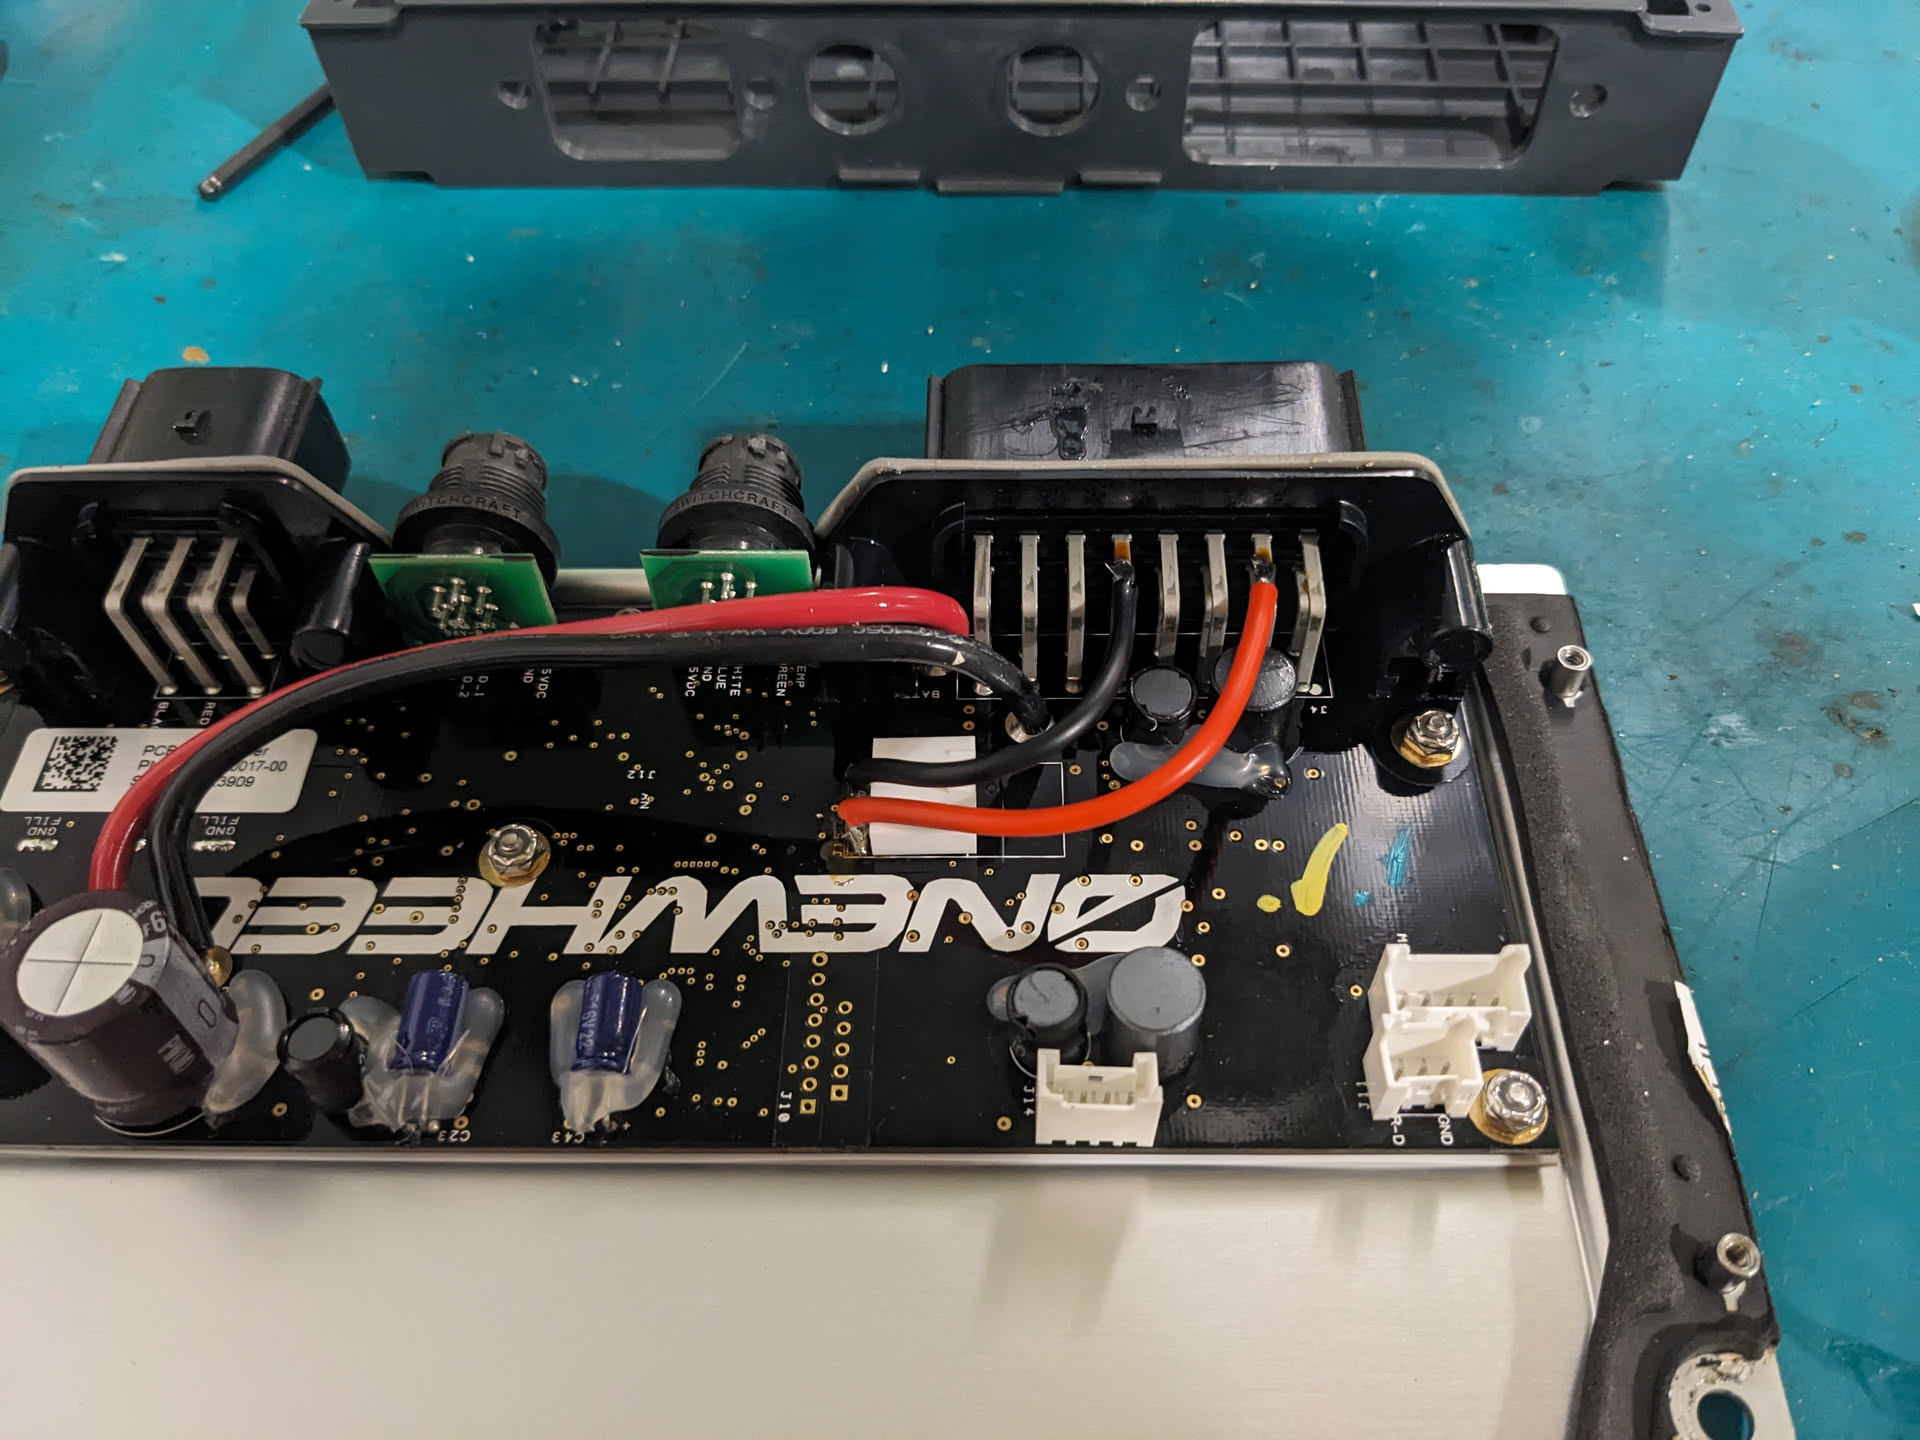
Inside the controller you also have to do a modification to direct charge down it's own channel:
Other Photos:

Result
All in all this project took a long damn time. Multiple tries with basically everything. But it now works! I have ridden it ~200 miles at this point and everything works how it should. It's just a OW+ but with double the range of a XR!
Would it have been more cost effective to just wait until a GT dropped to around $1k in my local market? Yes. Would that be a better board in nearly every way? Yes. But it was a fun project so horay! I feel way more connected to this board than I would if I bought it new.
TLDR: Should you do this? Probably not. Will it be fun if you do? Yes (if you like to diy)!